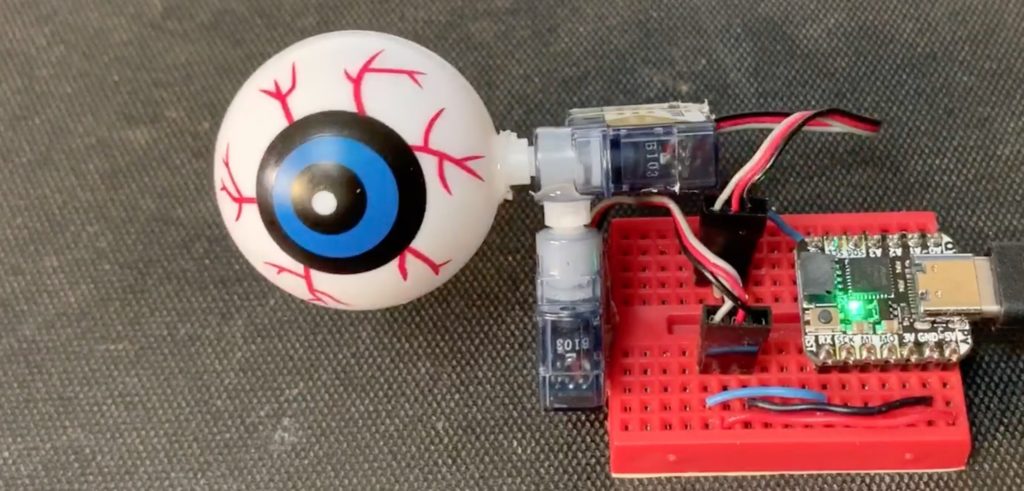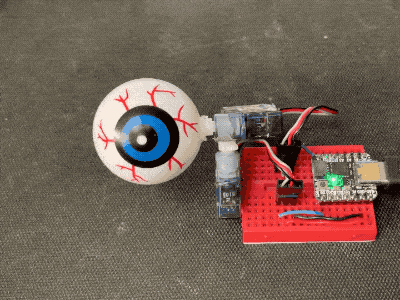
I’ve been very excited by CircuitPython’s move into the ESP32-S2 space. The ESP32-S2 is a WiFi-enabled microcontroller with built-in USB and a crypto engine so it can do HTTPS properly. And in Python! CircuitPython is much more pleasant than Arduino for network-based tasks, where there’s lots of string processing.
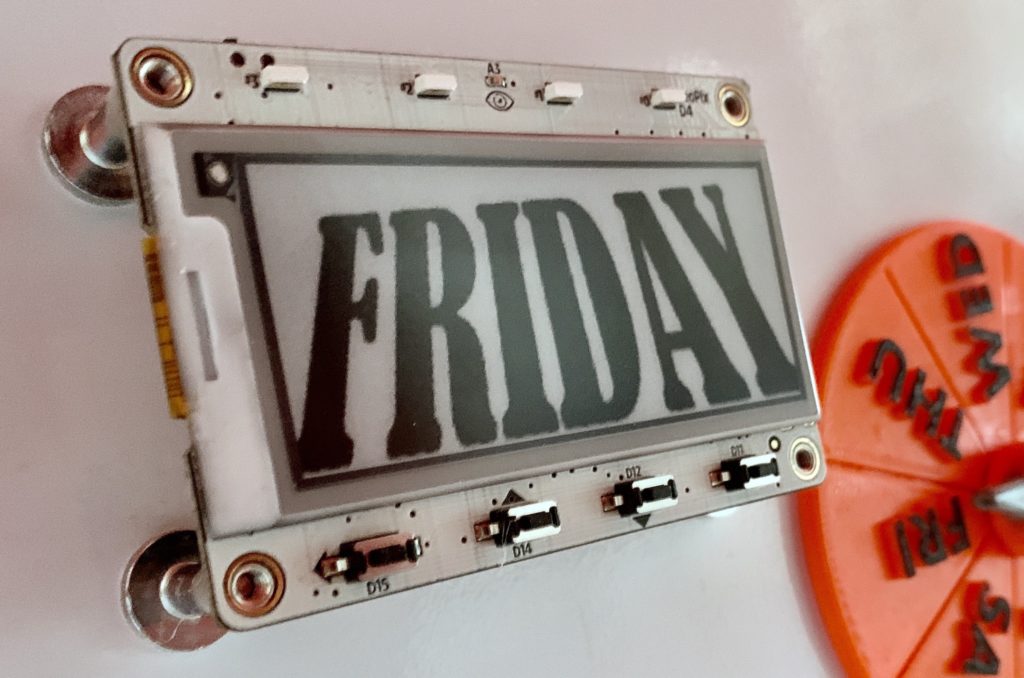
So for this week’s Deep Fried Neurons Happy Hour, I decided to take a cue from Carlyn’s revisiting a DFN project and revisit my “day of week” device. The first one was an orange 3d printed “week wheel”, partially seen above. Now it’s an ePaper- and ESP32-S2-based MagTag from Adafruit. The MagTag device is really nice. And it’s got little magnet feet! I put the code up on github. It’s basically a clock, but one that only updates once a day. Each day’s display is a typographic take on what I often feel on each day. Monday is serious and tilted up: “We’re gonna do this!”. Tuesday is a “work day, just work”. By Wednesday I’m starting to slip. Thursday my energy is regained! On Friday (above) I’m optimistic for all I’m going to do on the weekend, but with a little trepidation. (I usually just slack). Saturday is all relaxed, yup I’m slacking. And with Sunday, I’m worried about the upcoming week, I can’t believe the weekend’s already over!


Currently the code updates the display once an hour. Since ePaper displays require no power when not changing, it really could only wake up once-a-day. The battery should last for weeks. The CircuitPython team is continuing work on low-power modes to reduce power consumption, so battery life could get even better. It solves one of the main problems I had with my 3d printed “week wheel”: it required me to update it manually every day. Now the fridge can tell me what day it is because… what day is it?