
I really like the generation previous to the current Macbook Pros. You know the ones. They had all the useful ports like USB-A, HDMI, an SD Card slot, and MagSafe! And it had a long-lived battery in a thin case. That is my Macbook Pro. And it’s wonderful.
But now 3.5 years on, the once legendary battery was at about half its design capacity. I got 1600 charge cycles out of it though, which is astounding. And it still worked, unlike a previous Macbook’s battery that ended up getting a bad cell that caused it to unceremoniously shutdown at 20%. So I replaced it and I think it is working out great.
I got the iFixit Replacement Battery, even though there were cheaper ones to be had on Amazon or Ebay. iFixit does a lot for the hacking community and I feel they do a bit more due diligence on their parts than random Amazon/Ebay sellers.
The replacement process for this battery is known to be daunting. People have ignited their old batteries by puncturing them or fried their logic board. (Never use metal tools around these batteries! Never!) The reason why it’s difficult is this battery is a six-segmented beast held down by even more beastly adhesive.
There are three ways I know of to release the adhesive: heat or cold, dissolve with solvent, or mechanically breaking with a string. The head/cold method doesn’t seem to work that well and you’re always against the clock. The solvent method seems best to me, but the space available to apply it is limited. (The solvent of choice for weakening adhesive is acetone, what iFixit uses, and I feel better than isopropyl alcohol that some prefer) The string method seems pretty popular, but can be desctructive as in this video.
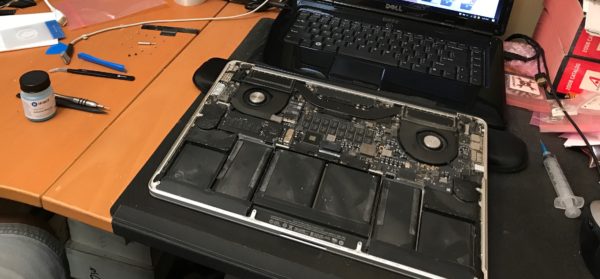
The current iFixit-recommended approach is to have you pull out the entire innards of the laptop so you can apply the solvent without harming the delicate plastics nearby. As an engineer, I find this a bad solution because I understand these high-density devices aren’t meant to be taken apart by semi-skilled labor. I don’t even really trust myself and I’ve been dinking with electronics since I was 8.
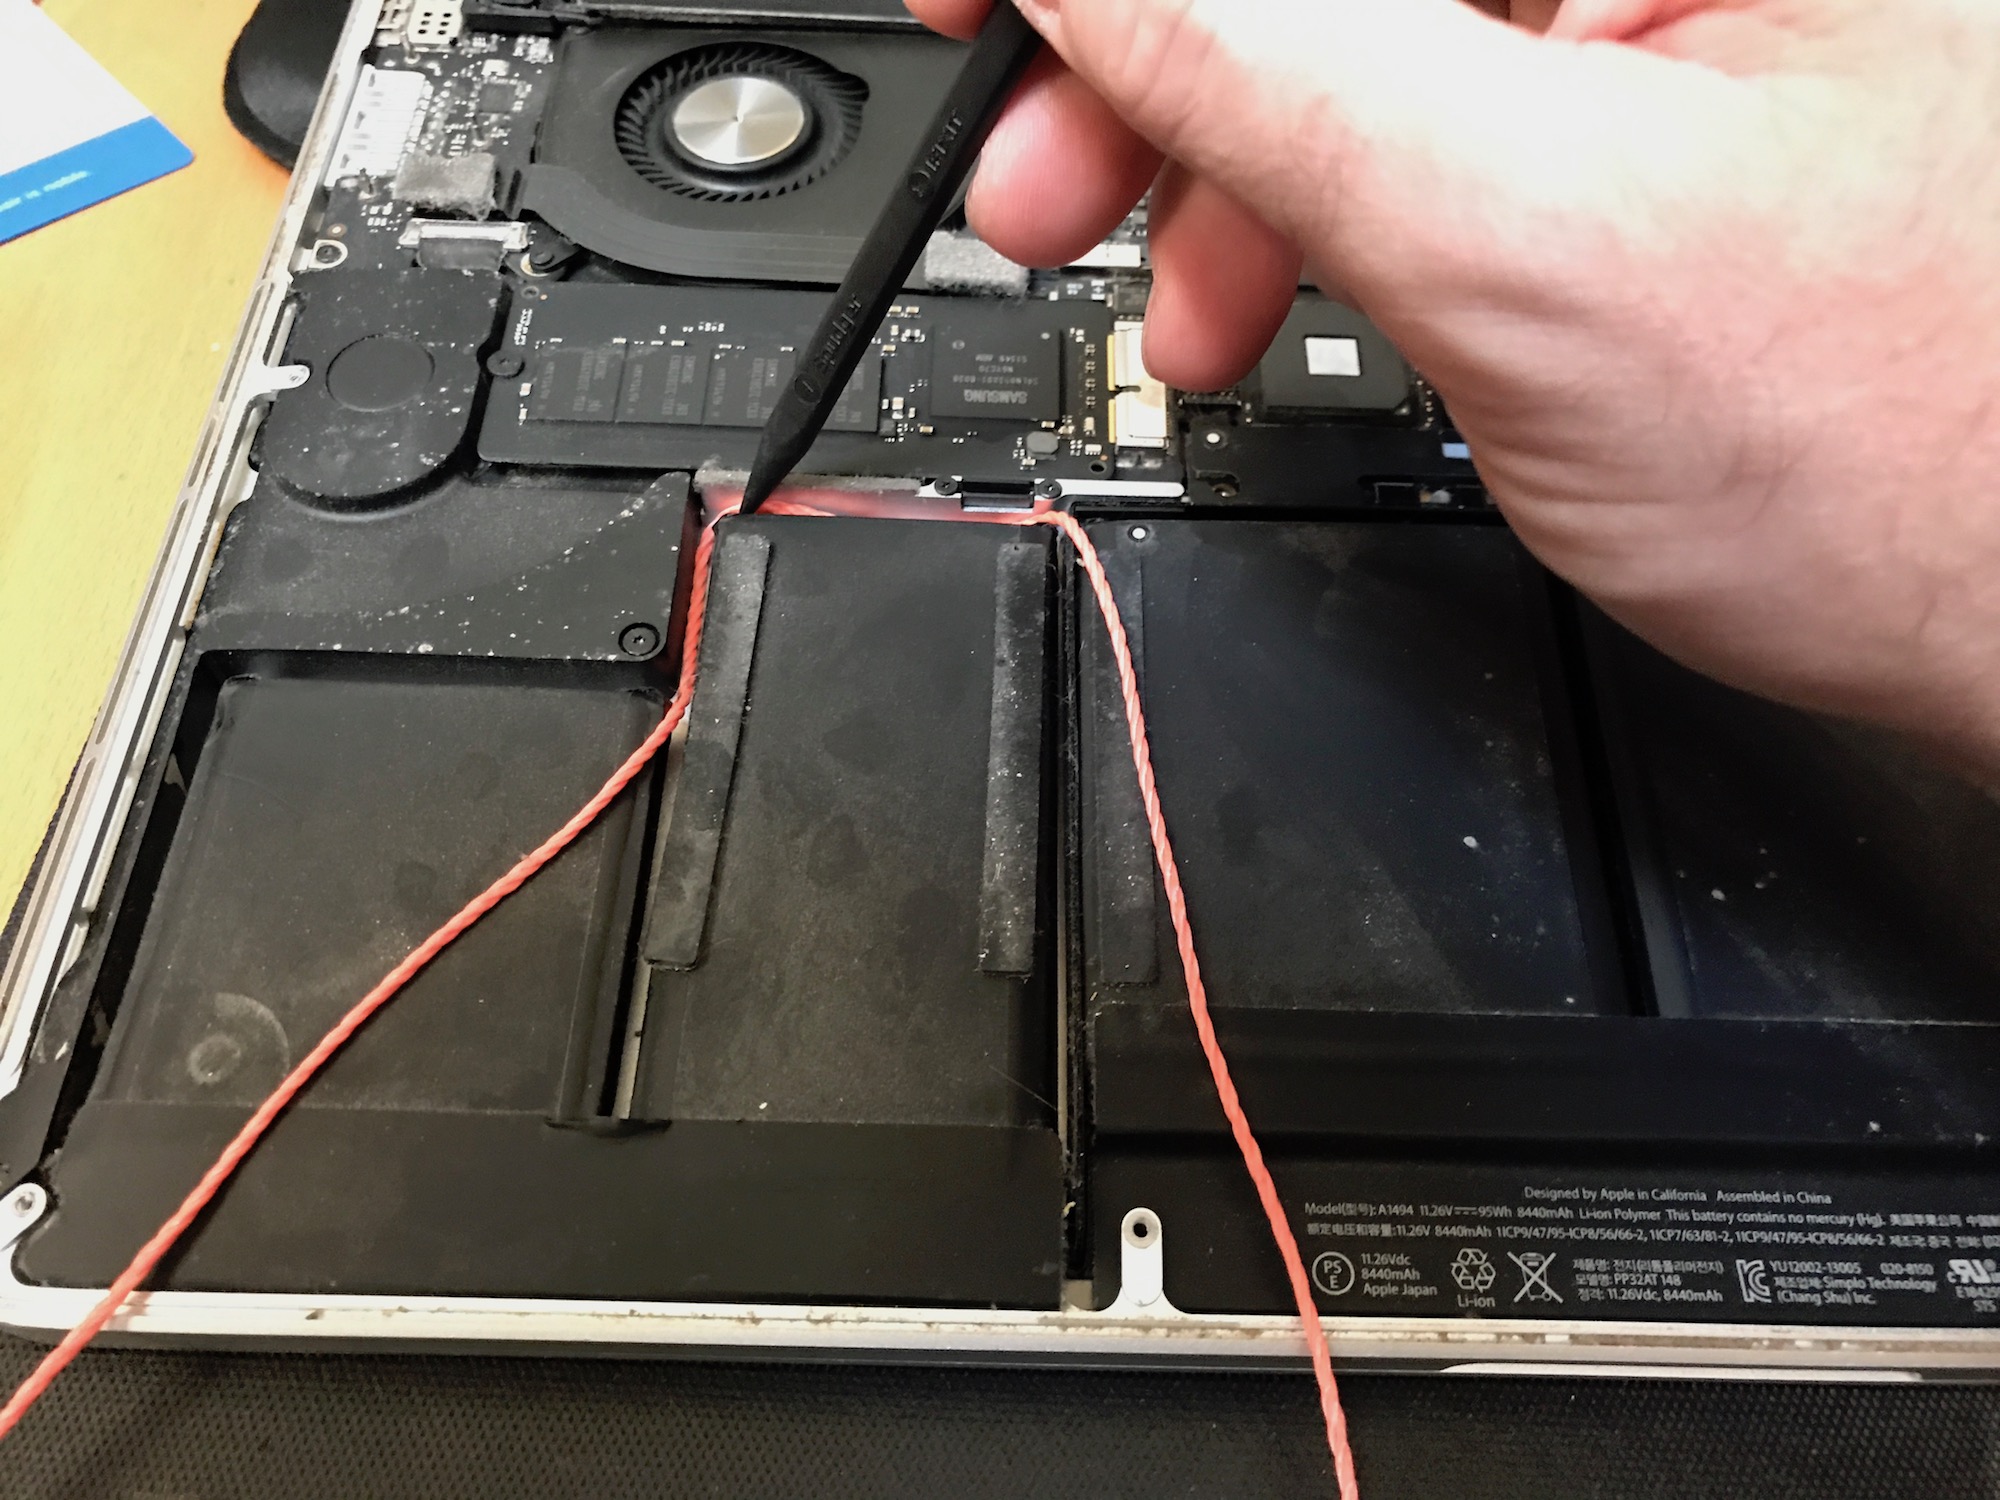
My approach was a hybrid of the solvent and string approaches. After following steps 1-4 of the iFixit guide, I tilted the laptop up a few degrees so the solvent wouldn’t seep towards the delicate plastic pieces.
Then I added two drops of solvent on each side of every battery segment, trying to be careful to use only a minimal amount.
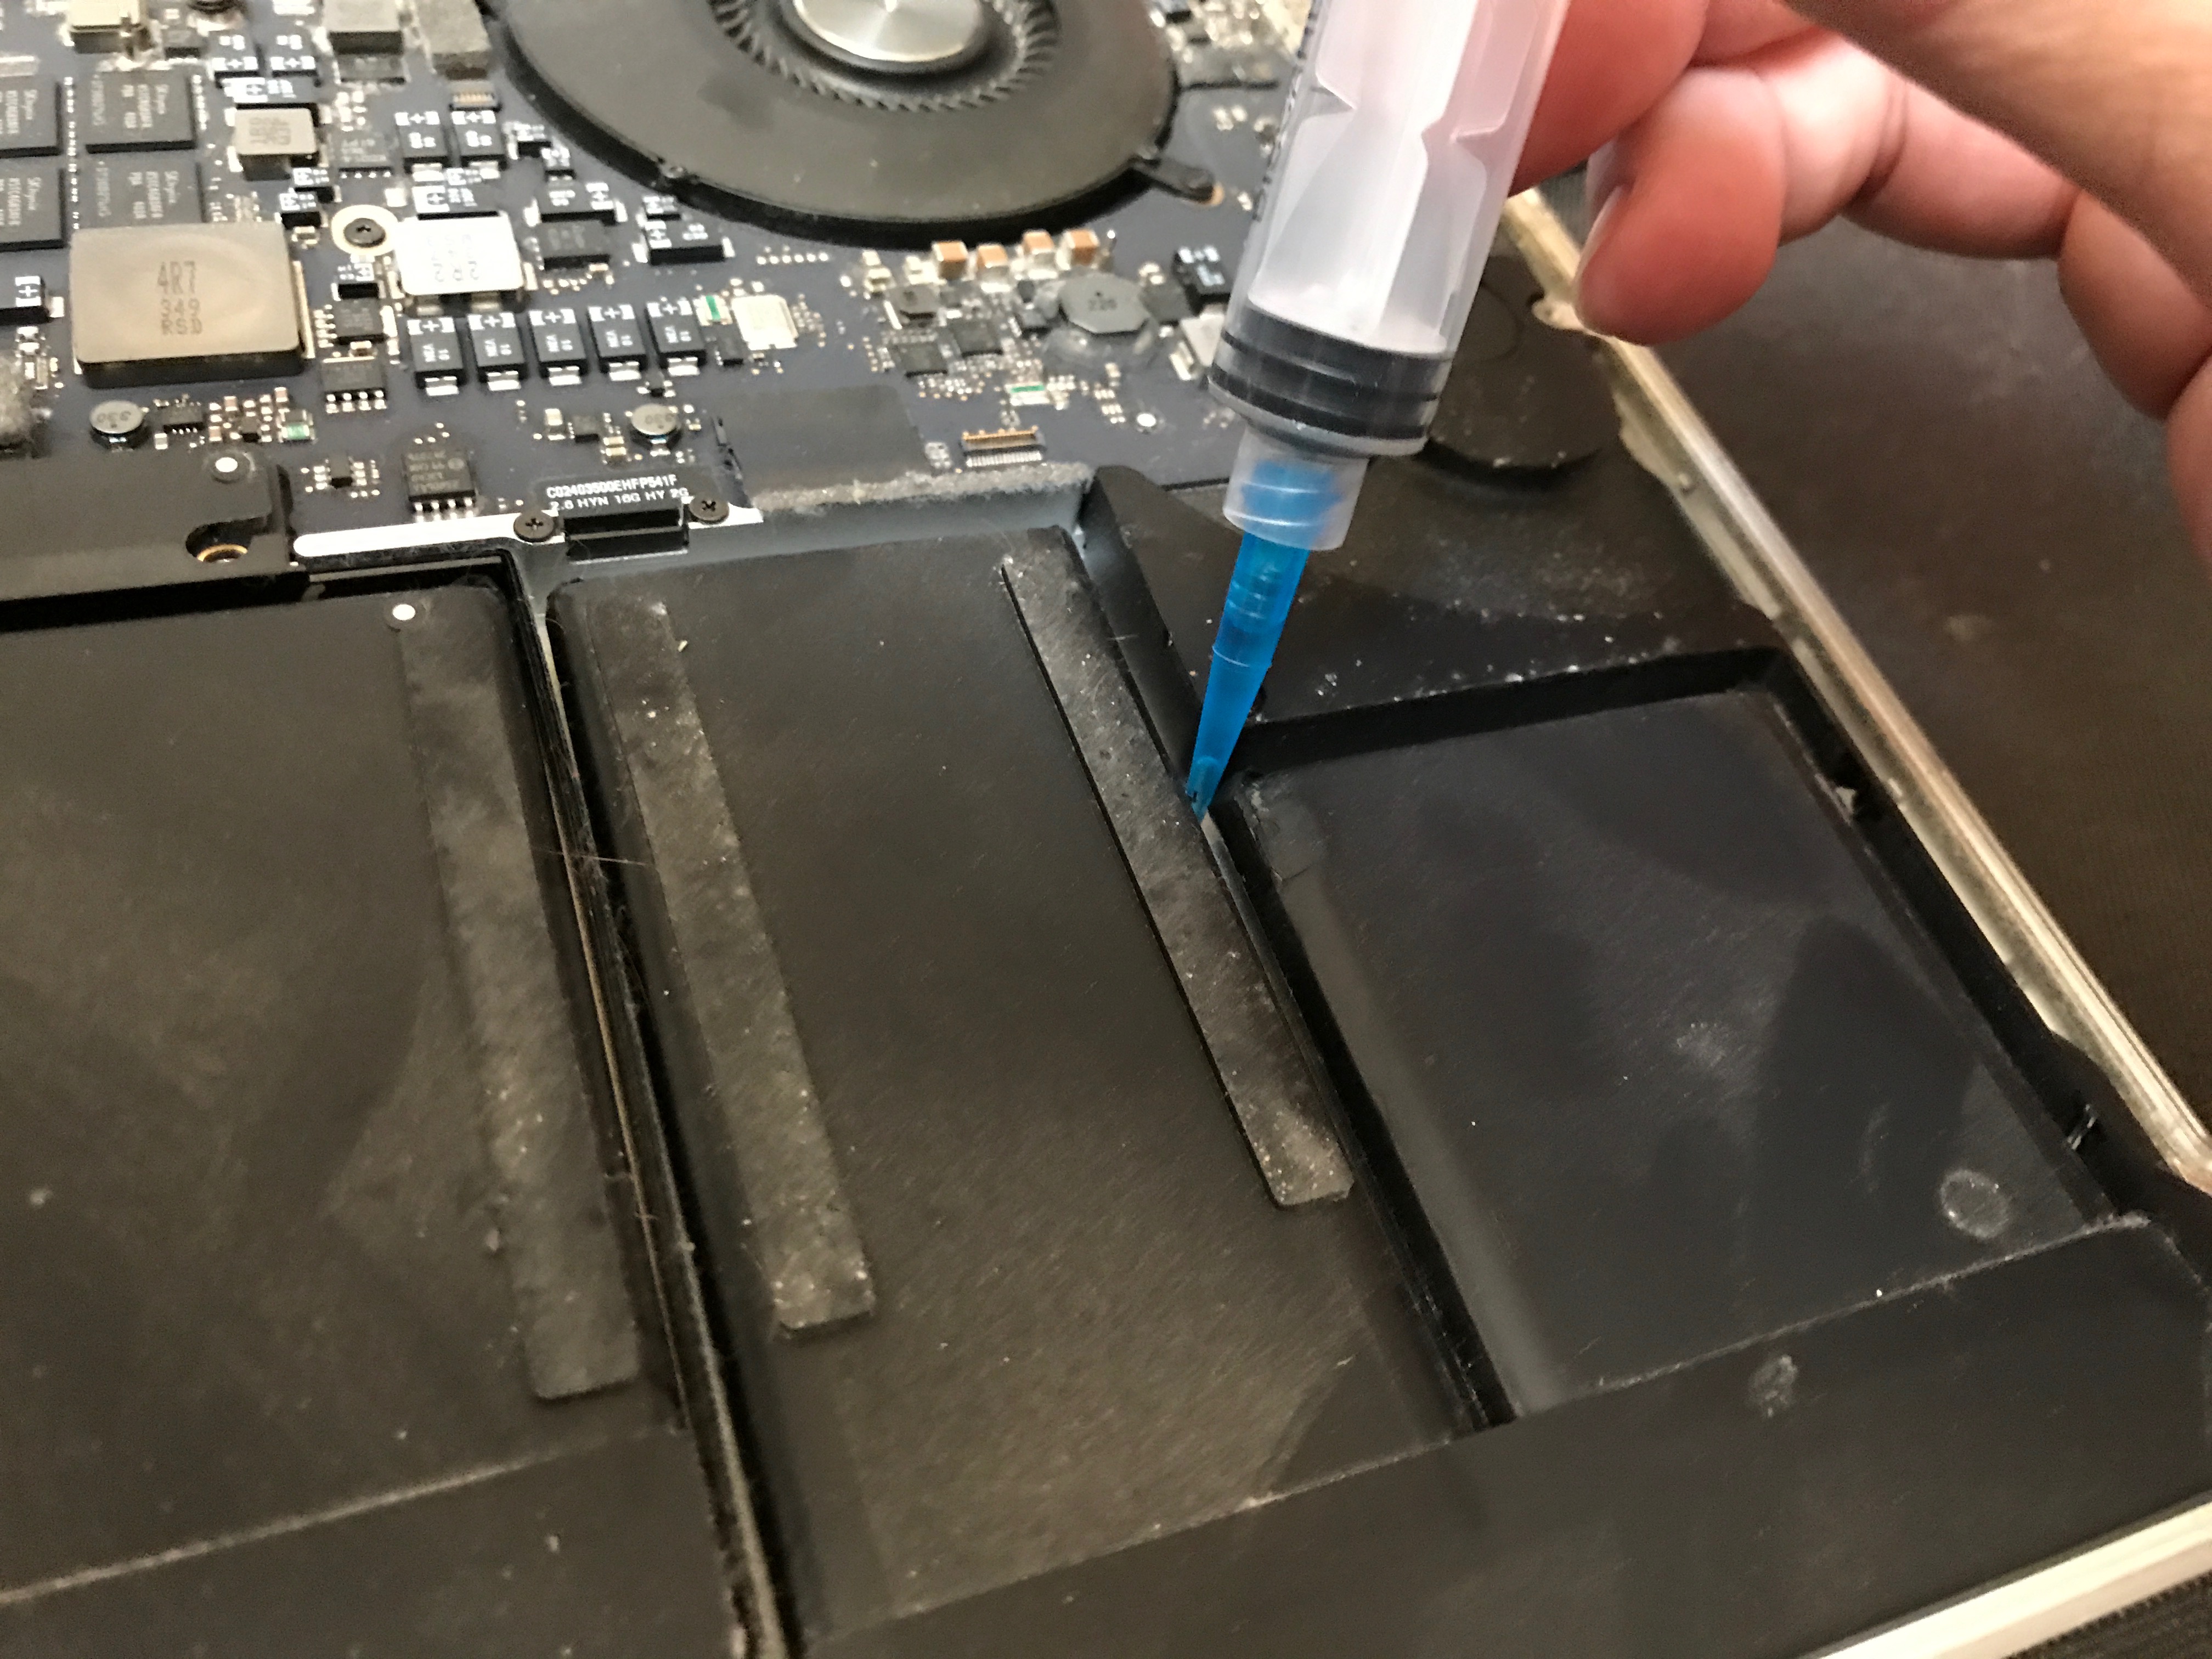
I then waited for about 10 minutes for the solvent to weaken the adhesive. Once weakened, I used orange nylon construction line (using a spudger to get down underneath the battery) and pulled it back-n-forth in a sawing motion while pulling towards me to break the adhesive.

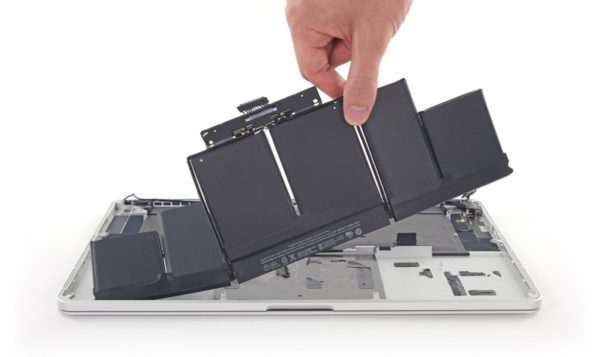
After doing each battery segment, the entire battery assembly could be folded back and then pulled away.

Sticking in the new battery was quick and painless.
Total elapsed time from first screw loosened to close up was about 1.2 hours.
The battery appears to be quite good. But I have two concerns that I think I’ll bring up with iFixit:
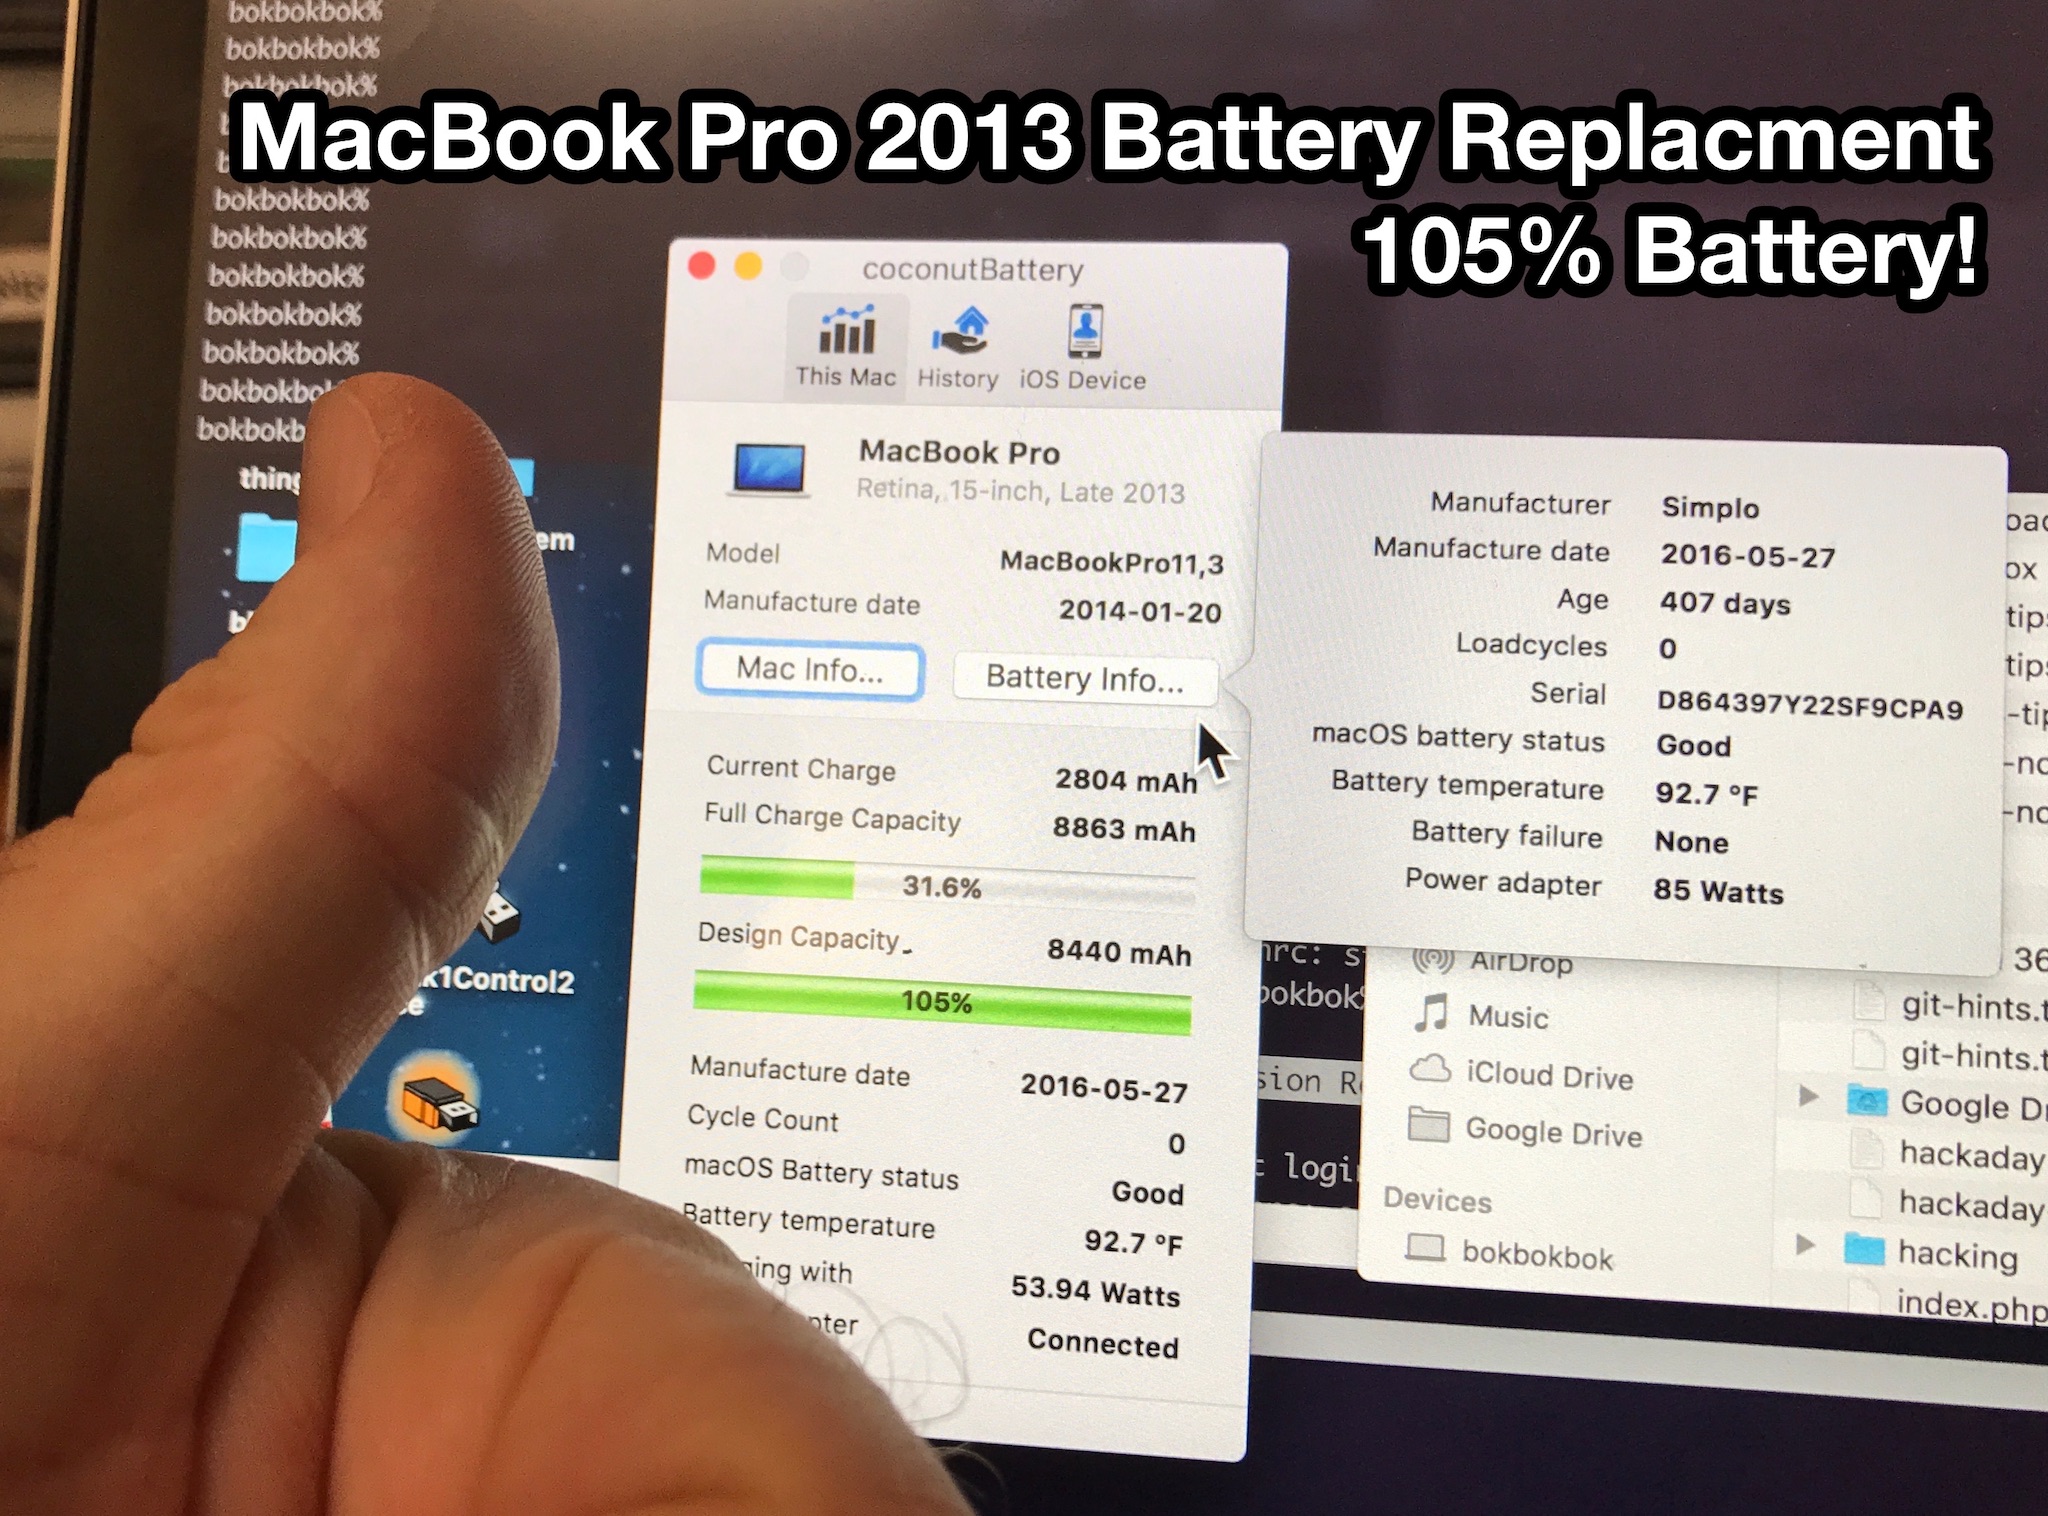
- Why is the battery reporting its age as 407 days old? Is a year-old battery normal?
- There seems to be old adhesive on this “new” battery. Why? (see image below)

Other than that, battery is reporting 105% of its design capacity, so I’m pretty chuffed. Thanks iFixit!
Nylon guitar string is a great solution to break the old adhesive strips!
This method was so easy to use! I bought the iFixit kit, but warmed the laptop on a radiator (protected by a towel to limit the temperature) to soften the adhesive tape strips. Used a nylon guitar string to cut through, with each end of the string wound round screwdriver handles. Found the remaining tape was getting harder to remove as it cooled, so warmed the whole machine up for a few more minutes, peeled the tape off easily. Cleaned the residual adhesive off with white spirit then methylated spirit (wood alcohol) to degrease and put it all back together. Less than an hour to do the whole job, including time to re-warm it half way through. New battery is 42 days old, 1 cycle showing, 8990 mAh full capacity showing. New battery arrived at 95% charged.
Yeah totally happen with it still. Currently the battery has 7611 mAh full charge capacity after 507 charge cycles. And I think the iFixit solution is totally do-able if you’re used to taking apart delicate equipment and have an hour or so to spare. Otherwise I’d recommend letting Apple do it.
Thanks! Are you still happy with your new battery? If you were to do it again would you pay about double the price and get it done by apple?
Hi Terry,
On the 13″ that is true, but the 2013 15″ MacBookPro came with a 95Wh battery and is an 11.26V battery. 95000 mWh / 11.26 V = 8436 mAh, so that’s right on the money from Apple’s specs.
Not sure how you have over 8000 capacity when they are normally rated at about 6000…?
Hi Ted, I never got around to asking iFixit about the reported battery age. It was probably just old new stock. (i.e. unused but made a year ago).
Hi Csaba, The battery has been great. iFixit has been really great for me and my colleagues. Between their wonderful take-apart guides, tools, and in-stock parts I feel pretty comfortable buying from them. Unlike random sellers on eBay or Amazon, iFixit will actually talk to you if you have concerns.
As of today (31 Dec 2017), my new battery has a full-charge capacity of 8316 mAh after 176 charge cycles. (Looks like I charge my laptop almost exactly once a day :-) So this battery has been awesome and I really recommend iFixit.
Hi, after half a year is the battery still providing enough juice? I have read some really bad reviews about ifixit, and would like to hear your opinion. Thanks!
Did Ifixit ever follow up with you? What did in regards to the ostensibly old battery?
Thanks