SerialPlotster is a graphing tool for data coming from microcontrollers, like Arduino, CircuitPython or MicroPython. It’s free and cross-platform, available for MacOS, Windows, and Linux. It plots line-oriented numeric data from a serial port as a real-time strip chart, with scrub/zoom that does not pause data collection, plus a console pane for bidirectional communication with the device. And it can collect data up to audio rates.
In many LED animations, you need to apply an operation to all LEDs as fast as possible. Often this is something like “fadeToBlackBy”, i.e. “dim all LEDs by a given amount”. There are some common effects you get by using “fadeToBlackBy” and one other action. For example: the Cylon effect is “Turn an LED on, Fade all LEDs toward black, Go to next LED, Repeat”. A simple firework simulation is “Turn on random LED, Fade all LEDs toward black, Repeat”.
Since I don’t come from a normal Python background, I’ve not used much Numpy. But I knew it was great for vector math. And I knew CircuitPython had a minimal version of Numpy called ulab it inherited from Micropython. Even though I’d seen the wonderful ulab learn guide that jepler did, the usefulness of numpy/ulab didn’t sink in. It was only when I was hacking on LED animation speedups did I re-stumble upon ulab. And am I glad I did.
As a test with a simple fire animation (as optimized as I could make it in normal Python), the results with ulab are striking:
fire_no_ulab.py: ~40 milliseconds per frame for 256 LEDs on RP2040
The general technique is to create a “working copy” of the LED data in a ulab array, and use ulab functions as much as possible to modify that working copy. Then at the last possible moment, copy the working copy data to the real LEDs object. It only adds a few lines of code to existing solutions and you get access to all these cool ulab array functions for LED effects! For instance, to constrain all RGB values of all LEDs to 0-255, this is a single line in ulab: leds_np = np.clip(leds_np,0,255). And it further cements my belief that any time you’re doing a for-loop on a large list in Python, you’re probably doing it wrong. :-)
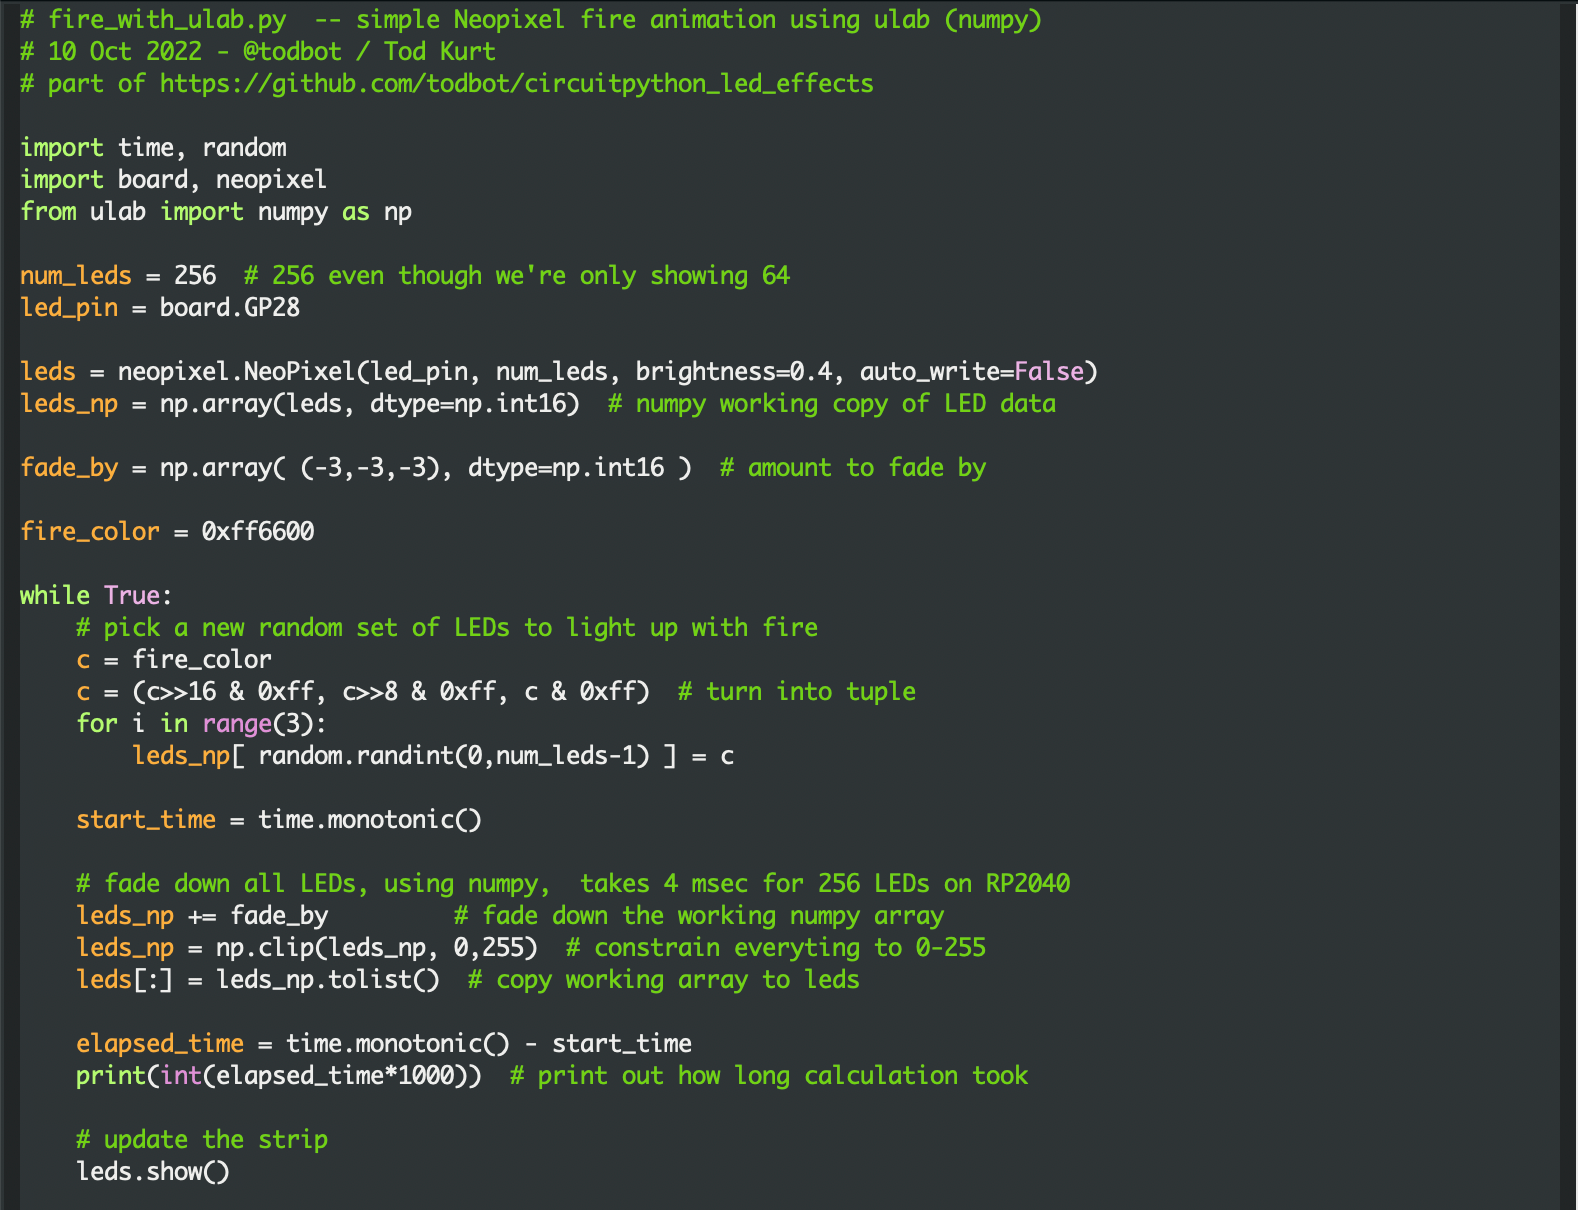
Screenshots of functionally identical code, before / after:
The video demo below shows the difference (also available on youtube). Each setup is identical, calculating for 256 LEDs even though only 64 are displayed. The “no ulab” case is perfectly usable if a bit choppy, but you lose ~36 milliseconds where you could be doing something else. (Like, for instance, these LED matrices are wired up in a serpentine pattern, so you need some math to unravel that if you want to draw shapes). The ulab version seems much smoother and more organic, at least to my eyes.
Did you know you can run multiple displays in CircuitPython? One way: wire up two displays in parallel.
There’s also true dual displays, more on that in a bit. For the above, here’s the wiring diagram and the code “gc9a01_hellocircles_compact.py”. Note how the second display is hooked up in parallel and the code just sees one display.
But what if you want each display to be independent?
I help support the USB HID projects hidapi and node-hid. One of the aspects of HID that isn’t clear is that HID devices transmit and receive data with “reports”, fixed-size data packets. What reports a device responds to is described by the HID Report Descriptor it hands to the OS. The OS then only permits those reports to be sent and received. This descriptor is different from the USB Config & Device Descriptors Those two are easily discoverable using standard system tools, but for whatever reason, getting HID Report Descriptors is much harder.
To address this, I’ve created two tools: win-hid-dump and mac-hid-dump from code snippets around the Net. They are akin to simplified versions of usbhid-dump for Linux. They print the HID Report Descriptors of the HID devices currently connected and the output can be parsed by things like https://eleccelerator.com/usbdescreqparser/
I’ve found many of the issues I have in supporting node-hid is getting people to understand that you need to know the type and sizes of the reports you want. Hopefully they’ll be useful to others as well. Let me know if you have any issues with them.
If you are like me, you play around with Neopixel / WS2812-style LEDs a lot. Normally I solder my own custom-connectors and don’t use the ones that come with the reels I buy. But since we’ve been playing around with WS2812-compatible Xmas lights, I decided to make a “Neopixel Dev Kit” for easier experimenting with different LEDs and different ways of powering them. Most LED reels come with a 3-pin JST SM socket (female) connector installed with also maybe a 2.1mm DC barrel connector to inject power (see reel picture below). They’ll also throw in a pigtail JST SM plug (male) connector to attach to your controller. So I standardized on this. The kit as shown consists of (from bottom to top):
Known-good USB-powered WS2812 controller from those lights, rewired with JST SM plug
Standard 3-pin JST SM plug to JST SM socket, with 2.1mm DC barrel connector power injector
3-pin JST SM plug (male) to header pins, for breadboarding
Known-good normal WS2812 strip with JST SM socket
5V power supply with 2.1mm DC barrel connector
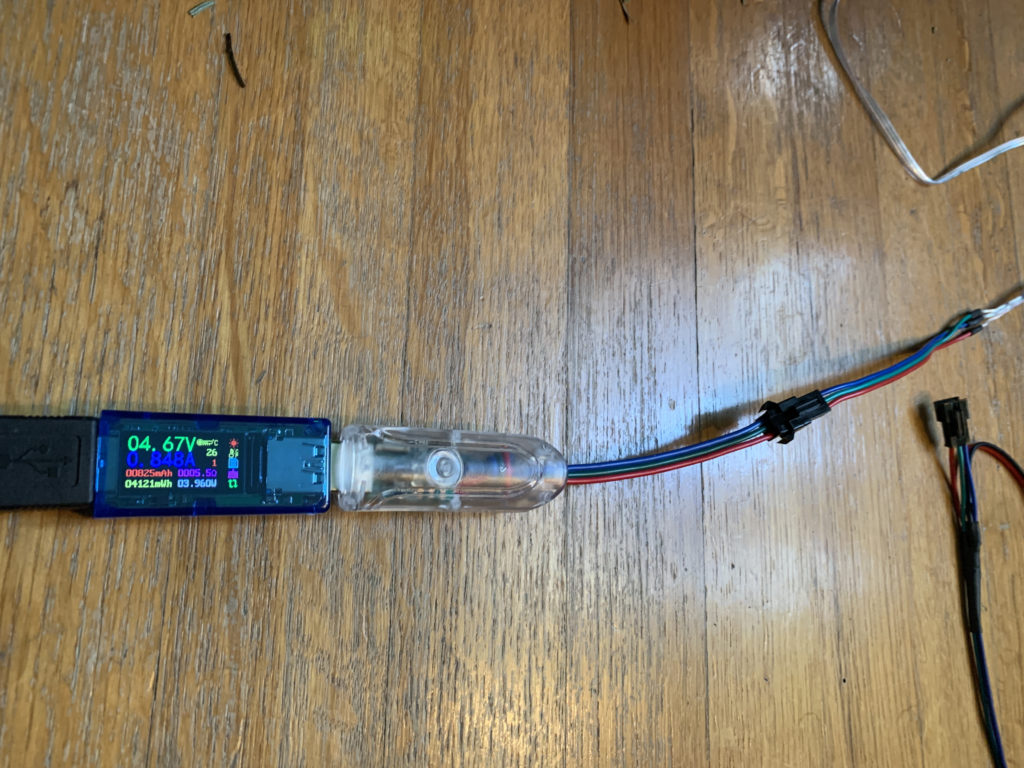
USB power meter for seeing voltage & amps drawn by any particular setup (see example below)
Arduino Pro Micro clone on tiny breadboard. This is a 5V microcontroller, so no need to worry about 3.3V -> 5V data issues. And it’s cheap in case we blow it up
Overall it’s working out okay. I need to add a few “sacrificial neopixels” to the mix to make using 3.3V-based microcontrollers and maybe some breadboard screw-terminals.
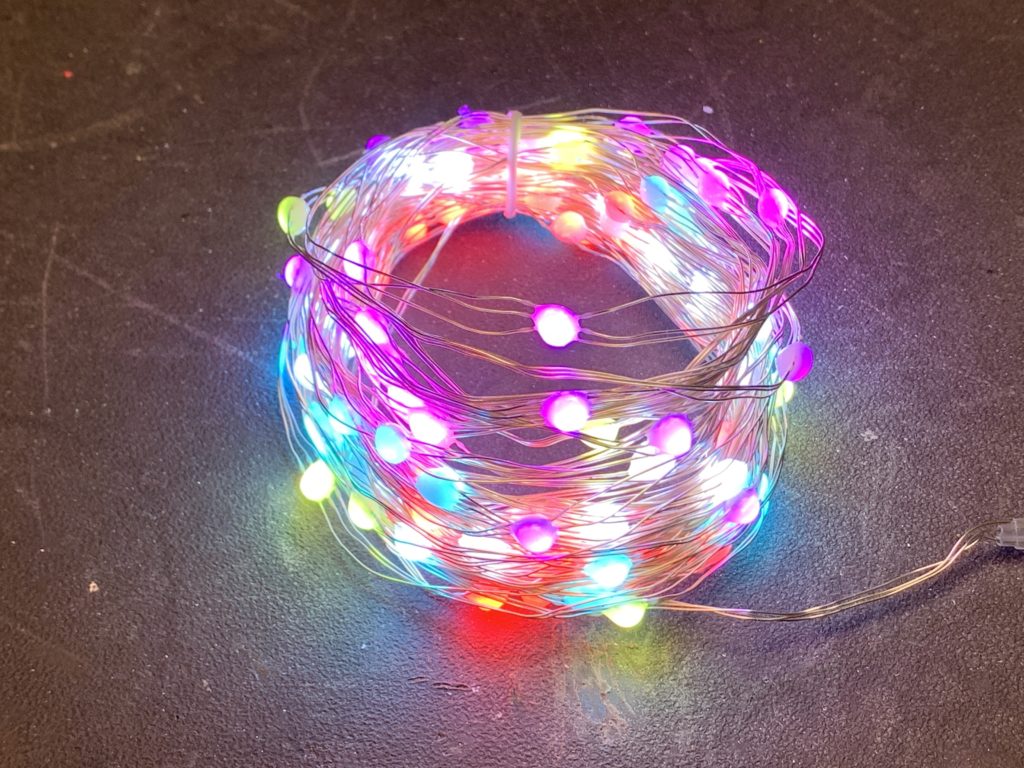
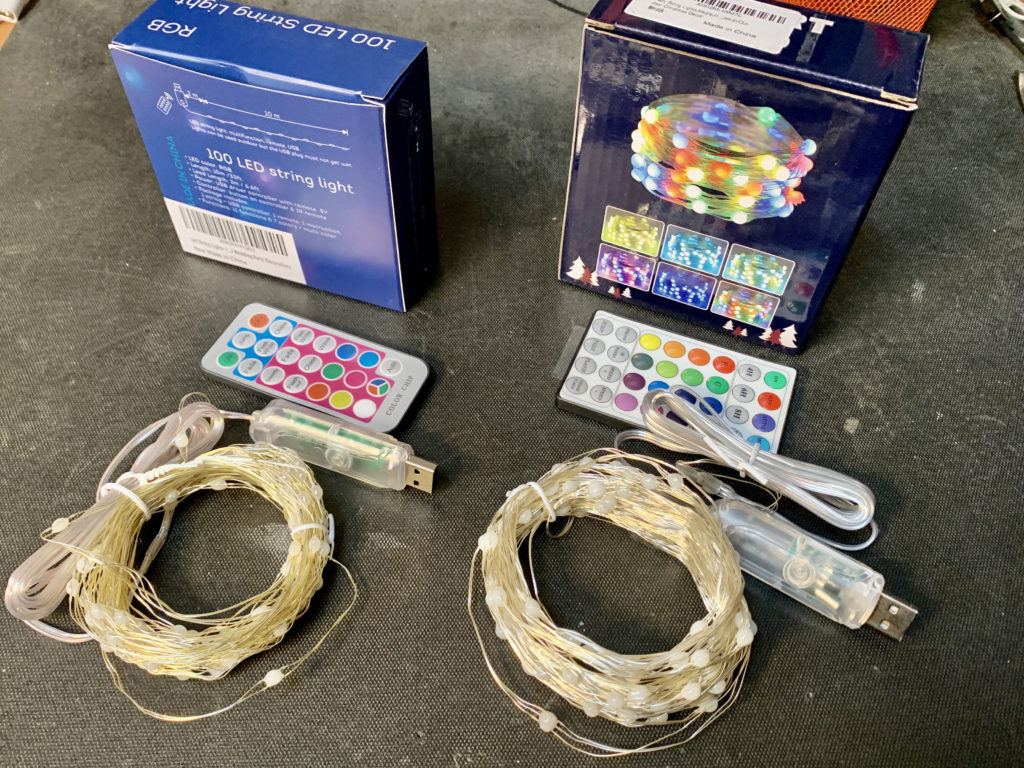
I’ve not done much on our plotter Xmas tree this week because, well… if you follow me on Twitter, it’s likely you’ve seen me ramble on about these crazy new Christmas Tree lights we got for our tree (first tree ever!). I wasn’t able to find appropriate “Christmas Tree” light forms of the WS2812 lights, but Carlyn did! And they were even better than normal Xmas light styles. These were “fairy lights” with small beads of light connected by solid enamel-coated wire that almost disappear visually. The LED string appeared to maybe be WS2812 / Neopixel compatible and yup, they were! But the weird thing was, as I learned was discovered back in November, these LEDs remember their address when cut out of the strand. If you’re familiar with WS2812-style LEDs, this is bonkers. Normally these LEDs have four pins: +5V, Gnd, DataIn, and DataOut. To make an LED strip, the LEDs are wired in a chain, one LED’s DataOut going to next LED’s DataIn. This is great! It means you just have one wire to control hundreds of LEDs!
What’s going on with these LEDs? You cut them up, wire them in parallel (there’s no data “in” and “out”, just “data”) and they still know where they should be in the data stream, only picking the data for them. I’m still researching this with the help of some friends who can navigate Shenzhen better than me, but it’s looking like these LEDs have their address set OTP (one-time programmable) at the factory. No LED part number yet. If you’d like to get some to try yourself, here’s the 100-LED exact Amazon ASIN I bought as well as the 200-LED ASIN Carlyn originally found (both affil links).
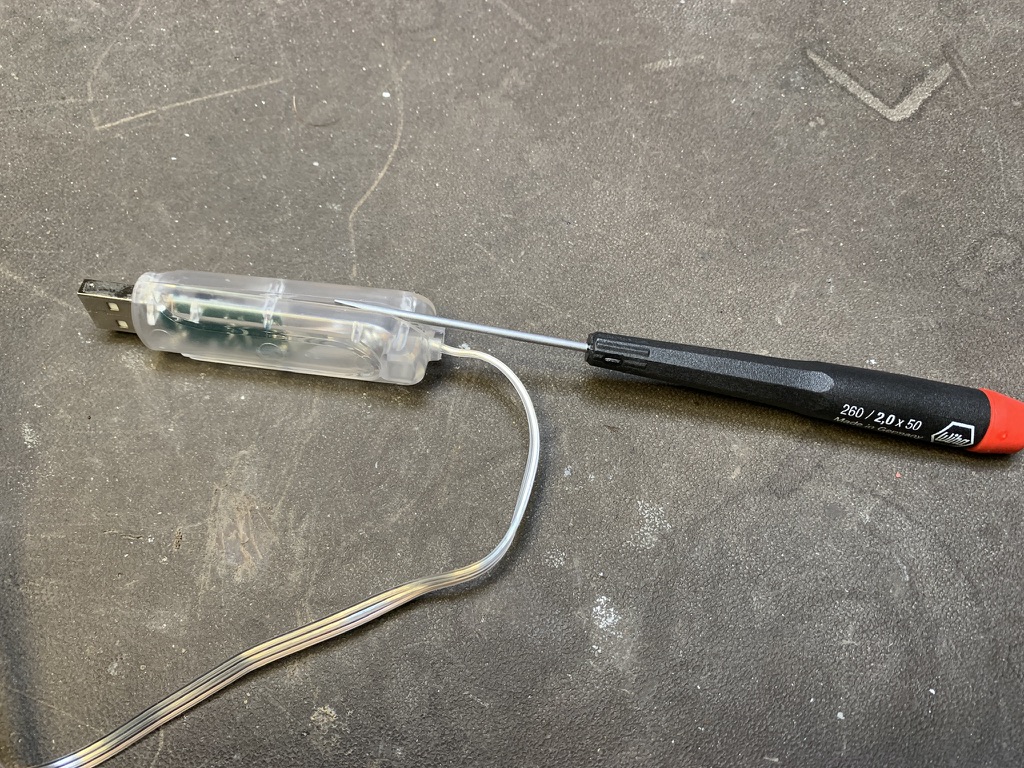
Here’s some pics showing the box and how I took it apart to test on an Arduino Micro clone.
Weird new WS2812/Neopixel-like chip wired in parallel but knowing their position in the strip, even when cut away. WAT Turns out the WS2812 Xmas lights I got are cleverer than I thought. More details by original discoverers: https://t.co/2rCL8RRSq2https://t.co/HmhpyZruM5pic.twitter.com/BUxowTumOE