
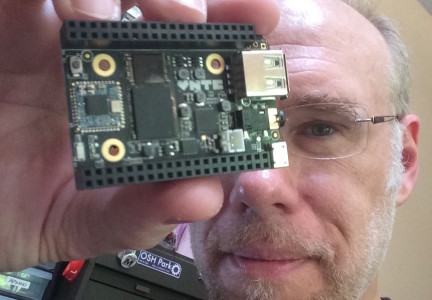
I recently received part of my Kickstarter reward from the famous C.H.I.P. $9 computer project. This is the “Alpha C.H.I.P.” board that is hardware complete, but has no firmware. So you need to install the SDK and flash the firmware yourself. If you’re a kernel hacker (like me, I’ve been poking on Linux internals since ’98 and OpenWrt since ’06), this is pretty great. It gives one a chance to see the build process for an interesting tiny Linux system.
The steps to get C.H.I.P. up and on WiFi and accessible via ssh were very straightforward, very non-frustrating, and spelled out in the following links:
- Install CHIP SDK: https://nextthingco.zendesk.com/hc/en-us/articles/210863457-Installing-C-H-I-P-SDK-
- Flash CHIP firmware: https://nextthingco.zendesk.com/hc/en-us/articles/210864097-Flash-C-H-I-P-from-C-H-I-P-SDK-Virtual-Machine-
- Connect CHIP to WiFi: https://nextthingco.zendesk.com/hc/en-us/articles/209758368-Connecting-C-H-I-P-to-a-Wireless-Network
Each of those stages is pretty straight forward. In short, these are the steps in each stage (where ‘%’ means my Mac, ‘$’ means the vagrant linux VM, and ‘#’ means CHIP command lines):
1. Install CHIP SDK
- Install Virtual Box & Oracle Extension Pack
- Install vagrant
- % vagrant up && vagrant ssh
- $ ./CHIP-SDK/setup_ubuntu1404.sh
2. Flash CHIP from CHIP SDK
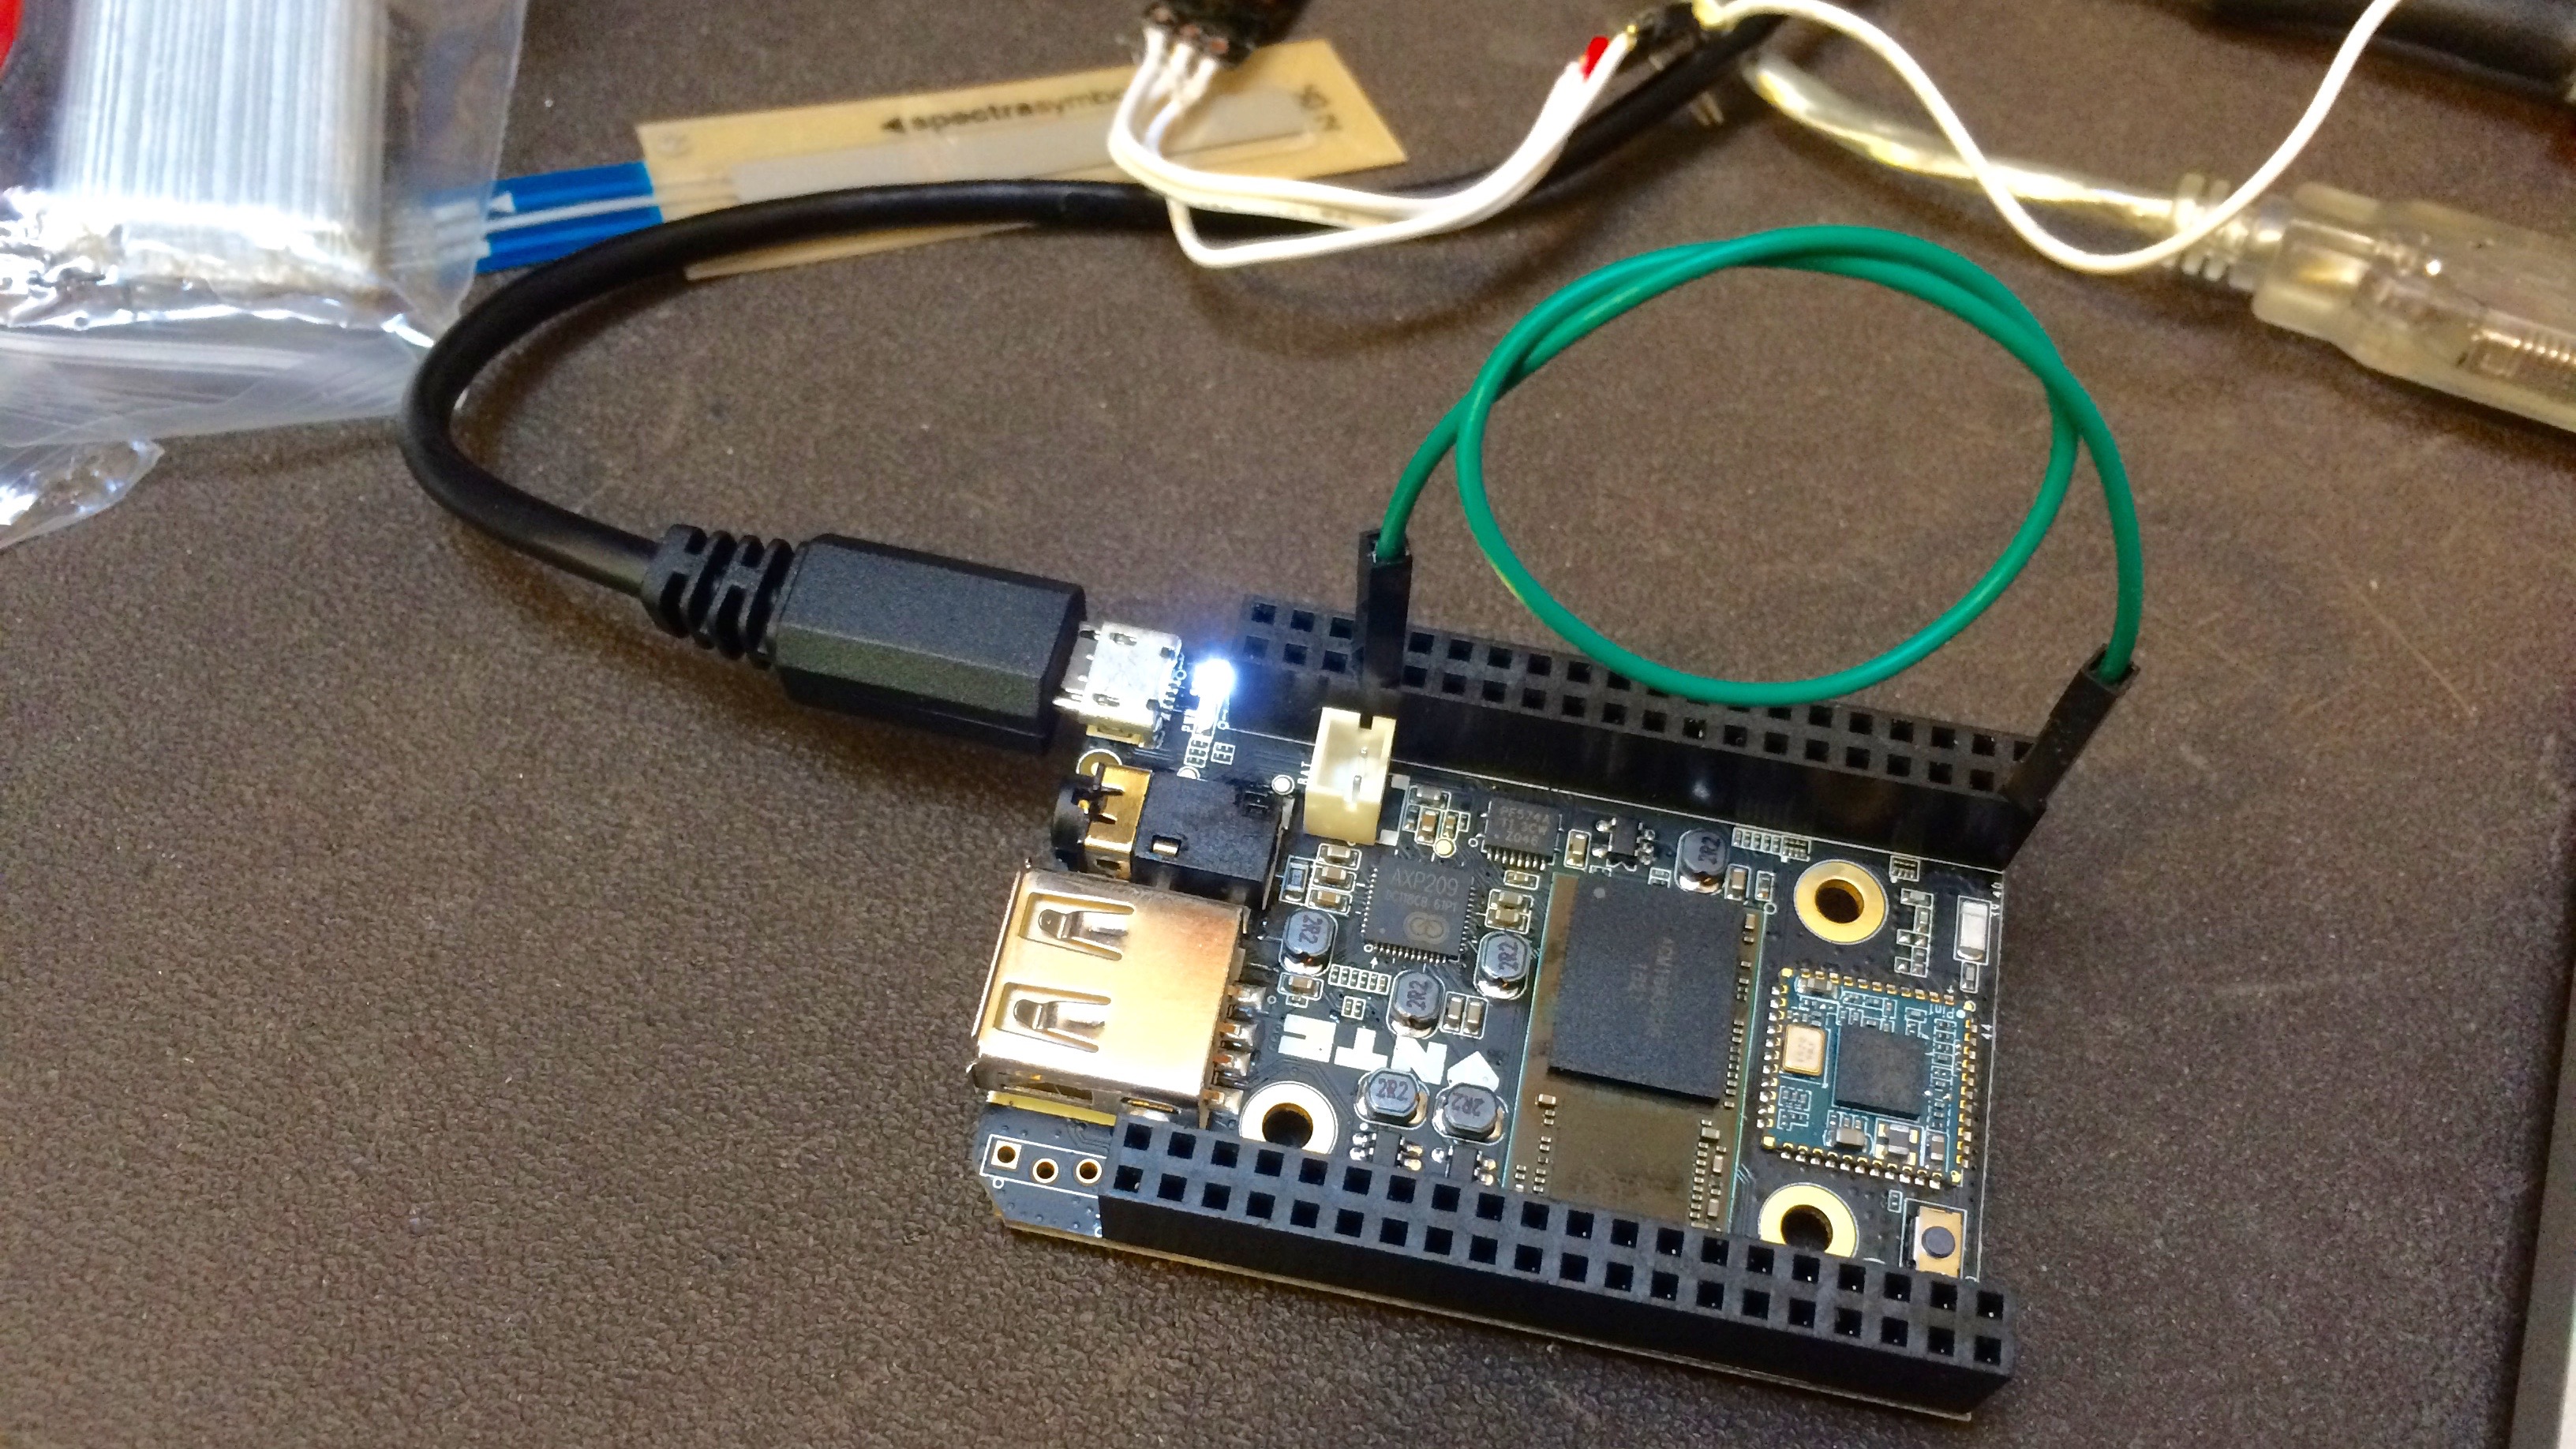
- Put jumper wire between FEL & GND pins on CHIP
- Plug CHIP into computer’s USB
- % cd CHIP-SDK
- % vagrant up && vagrant ssh
- $ cd CHIP-tools && ./chip-update-firmware.sh
- $ cu -l /dev/ttyACM0 -s 115200
- # hwtest
- # exit
- % vagrant halt
3. Get CHIP on WiFi
- % sudo cu -l /dev/usbmodem14141 -s 115200
- # connmanctl enable wifi
- # connmanctl scan wifi
- # connmanctl connect wifi_….
Here’s a complete log of everything I did, showing output for those interested: http://pastebin.com/w5pDhHAe
And here’s a pic of the FEL to GND connection needed to reflash the firmware:
Note: you should have some familiarity with “vagrant” and Linux command lines if things go wrong. If you do have a problem, just try deleting VirtualBox, vagrant, and the CHIP-SDK checkout and starting from scratch. (I had an old VirtualBox and vagrant install that caused some issues initially)