[update 20150128: changed links to SoftI2CMaster project on Github]
Ever wanted to use any pair of pins for I2C on Arduino, not just the dedicated pins on Analog 4 & 5? Me too, so I made a quick little Arduino library called “SoftI2CMaster”, available in the “blinkm-projects” Googlecode repository.
Get it here: SoftI2CMaster on github
It’s still a work in progress, but it can write data pretty successfully and do it over longer cables than normal.
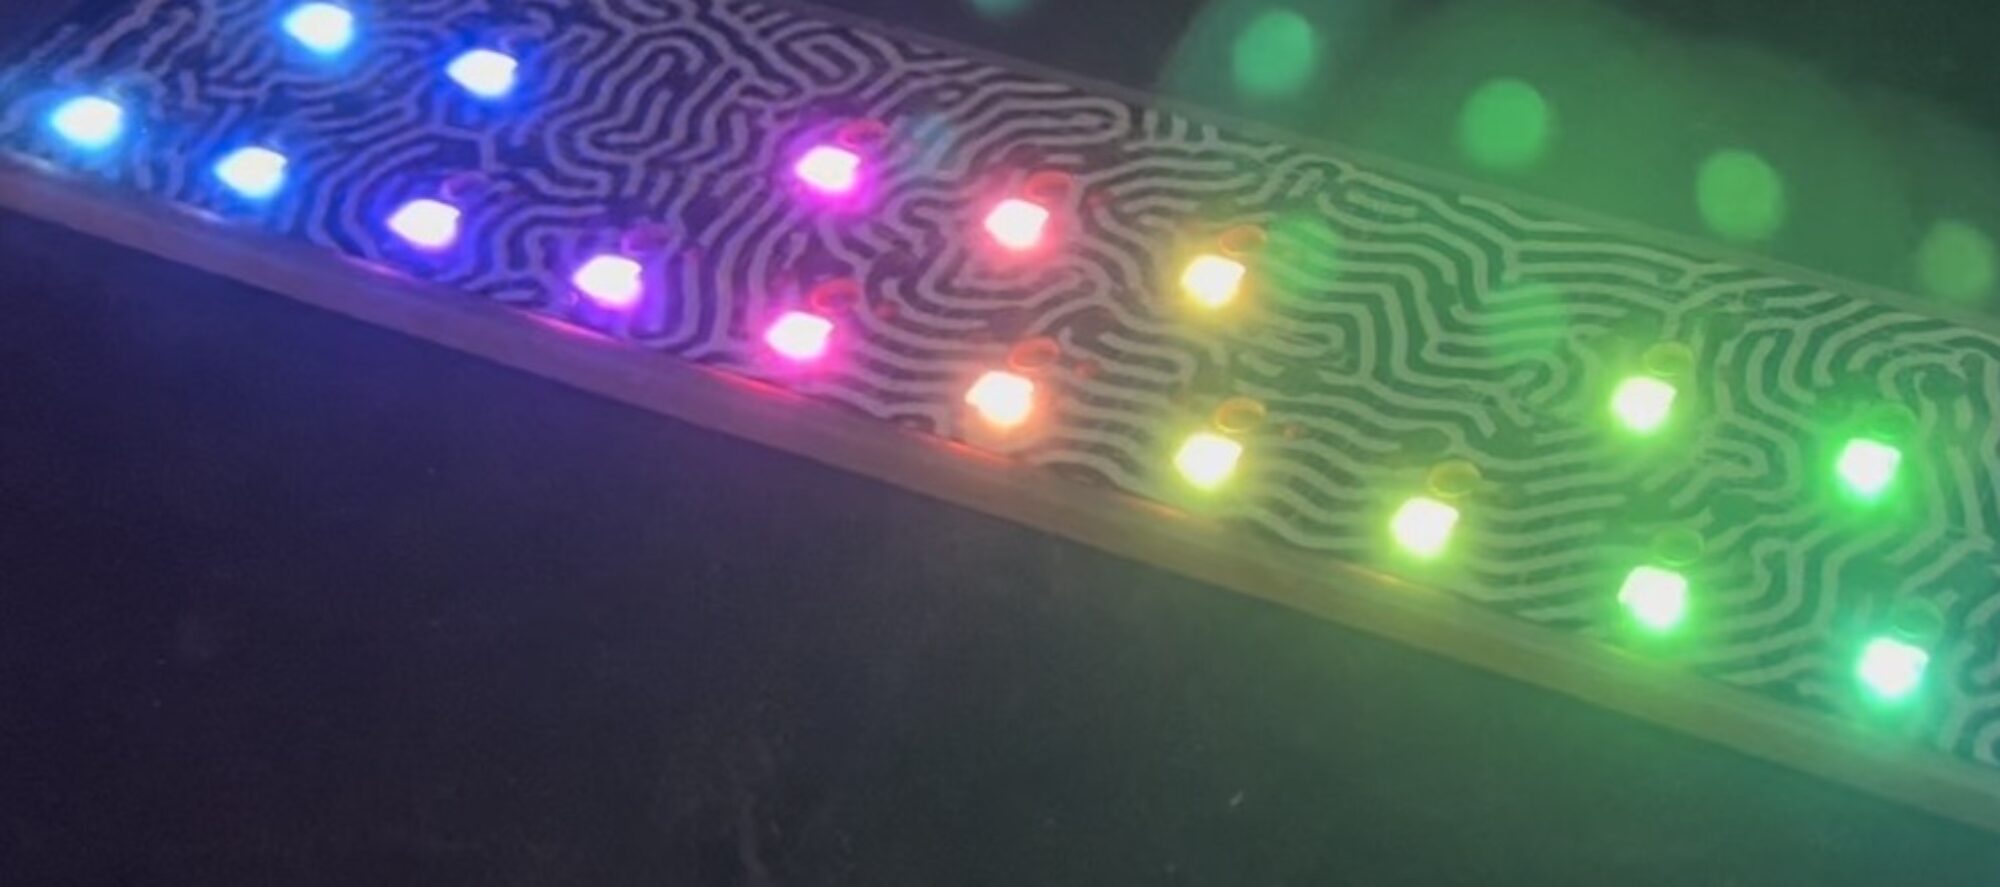
For the VIMBY/Scion Hackerspace Challenge, I created an array of BlinkM MaxM-powered accent lights for the device we made. Because the I2C cable was longer than a few feet, the normal Wire library that BlinkM_funcs.h uses to communicate with BlinkMs couldn’t be used. This is because the Wire library assumes a perfect bus. If there is any noise or other bus problems, the Wire library will currently lock up. For the SoftI2CMaster library, I wanted it to be very tolerant, even lazy, about bus problems and also have more tunable timing to let you slow the bus down. Of course, you still need pull-up resistors on the two lines. I’ve found using 2.2k resistors to be good.
The SoftI2CMaster API follows Wire’s API pretty closely:
- SoftI2CMaster(sdaPin,sclPin) — create an new SoftI2CMaster for the two pins specified
- beginTransmission(address) — begin sending data
- write(data) — send some data (byte or byte arrays)
- endTransmission() — stop sending data
In use it looks something like this:
#include "SoftI2CMaster.h"
const byte sdaPin = 7;
const byte sclPin = 6;
SoftI2CMaster i2c = SoftI2CMaster( sdaPin,sclPin );

i2c.beginTransmission( 9 );  // write to address 9
i2c.write('c');
i2c.write(255);
i2c.write(0);
i2c.write(200);
i2c.endTransmission();
There is a simple demo for BlinkMs that this library currently lives in. It’s called “BlinkMSoftI2CDemo” and shows off a simplified BlinkM_funcs called “BlinkM_funcs_soft.h“. The entirely of BlinkMSoftI2CDemo is shown below.
const byte sdaPin = 7;  // digital pin 7 wired to 'd' on BlinkM
const byte sclPin = 6;  // digital pin 6 wired to 'c' on BlinkM

#include "SoftI2CMaster.h"
SoftI2CMaster i2c = SoftI2CMaster( sdaPin,sclPin );

// must define "i2c" before including BlinkM_funcs_soft.h
#include "BlinkM_funcs_soft.h"

byte blinkm_addr = 9;

//
void setup()
{
  Serial.begin( 19200 );
  Serial.println("BlinkMSoftI2CDemo");

  BlinkM_off(0);

  for( int i=0; i< 100; i++ ) {  // flash the blinkms
    BlinkM_setRGB( blinkm_addr, 255,255,255 );
    delay(10);
    BlinkM_setRGB( blinkm_addr, 0,0,0 );
    delay(10);
  }
}

void loop()
{
  byte r = random(255);
  byte g = random(255);
  byte b = random(255);

  BlinkM_setRGB( blinkm_addr, r,g,b );
  delay(10);
  BlinkM_fadeToRGB( blinkm_addr, 0,0,0 );
  delay(1000);
}

void BlinkM_off(byte addr)
{
  BlinkM_stopScript( addr );
  BlinkM_setFadeSpeed(addr,20);
  BlinkM_setRGB(addr, 0,0,0 );
}
the i2c stop routine is incorrect and will not work with 24c16 chips.
the true i2c stop condition requires sda to go high after sck has gone high
the routine needs a sda_lo at the beginning
otherwise it seems to work well
My bad. I see now that I2C can read multiple devices serially. So the point your code is just for more convenient placement of the pins. The new arduino Due has 2 I2C ports.
Not a lot of answers from Tod here but what the hey:
-What’s cooler than hacking one nunchuck? hacking two! Adding a 2nd nunchuck would require *reading* in the 2nd I2C. Is that possible with this code? If not, any suggestions of either how to do it or to get it going?
thanks!
Is it possible to use this to add I2C to a microcontroller that doesn’t have it? Specifically the Atmega8U2?
Is it possible to modify the code to be bidirectional? I am currently attempting to copy-paste sections of the Wire.h and Wire.cpp libraries into the softI2C libraries…but it I’m not too sure if this will work. My project requires a wii nunchuck to be driven by digital pins due to the fact that all of the analog pins have been taken.
Is it possible to use the default Uno i2c pins (analog pins 4 and 5) with SoftI2cMaster?
hello todbot
your softi2c sounds very interesting. i know you wrote it to work with the great blinkm. but i was wondering if and how i could use your code to have multiple arduino’s communicate.
basically how do i set up slaves and their addresses? the code you made available seems to be only covering the master side of things.
thanks, stephan.
It’s still using normal I2C signalling techniques, allowing one to use any two I/O pins as I2C pins. It extends the bus length only because the speed of the I2C transactions has been slowed down to hopefully get around bus capacitance issues.
Hi! This looks useful! As for extending the length of I2C, is it right that it uses 5V/0V as logical HIGH/LOW? That way, length is limited by arduinos current drain, pull-up resistor, frequency of bus and voltage?
This is so useful for real projects! I was asked about something like this for one of our latest project at Medialab Prado, to run a couple of i2c buses longer than usual. Thanks for making this available.
This would be *really* useful if it were bidirectional.
Duplicating wire’s receive, available, and requestFrom…
Hi,
I tried to use the SoftI2CMaster library on an Arduino Pro Mini on Digital pin 4 and 5, but it does not work. I tested the hardware wiht Bascom Code and Digital PIN 4 and 5 and this works, but I cannot get it working with C++ and the SoftI2CMaster Lib.
Here is the code I am using.
/* * main.cpp * * Created on: Oct 5, 2010 * Author: geraldf */ #include #include #include "SoftI2CMaster.h" Servo myservo; //--I2C-- const byte M_h = 0x52; //i2c address: motor at the back const byte M_l = 0x54; //i2c address: motor at the left const byte M_r = 0x56; //i2c address: motor at the right const unsigned int sdaPin = 4; const unsigned int sclPin = 5; // LED Pins int BackLED = 7; int RightLED = 8; int LeftLED = 9; int IntLED = 13; //internal green LED; void I2CSend( int, int); int BlinkLED(int ); SoftI2CMaster i2c = SoftI2CMaster( sdaPin,sclPin ); int pos = 0; // variable to store the servo position extern "C" void __cxa_pure_virtual() { } // The setup() method runs once, when the sketch starts void setup() { myservo.attach(6); // attaches the servo on pin 9 to the servo object } void TestMotors() { int i; for (i = 0; i < 200; i += 1) { I2CSend(M_l, i); delay(100); } I2CSend(M_l, 0); for (i = 0; i < 100; i += 1) { I2CSend(M_r, i); delay(100); } I2CSend(M_r, 0); for (i = 0; i < 100; i += 1) { I2CSend(M_h, i); delay(100); } I2CSend(M_h, 0); } void I2CSend(int adr, int cmd) { i2c.beginTransmission(adr); i2c.send(cmd); i2c.endTransmission(); } void TestServo() { //// for(pos = 0;pos = 1;pos -= 1)// goes from 180 degrees to 0 degrees //// { //// myservo.write(pos); // tell servo to go to position in variable 'pos' //// delay(25); // waits 15ms for the servo to reach the position //// } // myservo.write(-180); // delay(1000); myservo.write(100); delay(1000); myservo.write(0); delay(1000); } // the loop() method runs over and over again, // as long as the Arduino has power void loop() { TestServo(); TestMotors(); } int main(void) { /* Must call init for arduino to work properly */ init(); setup(); for (;;) { loop(); } // end for } // end mainThis is really cool. I’ll test this next days as I need this for a project idea I have. Thanks for sharing this!
Tres cool. That could come in handy. Thanks for making this available. I had a heck of a time getting two AVRs talking I2C to each other. Maybe because I was trying to do something more complex than simple query/response. I was querying multiple times for different types of info. I finally got it going if I arranged the API calls just so. Just me?
Since I’m using two SHT21 chips, and they carry the same I2c address, I need two I2C channels.