
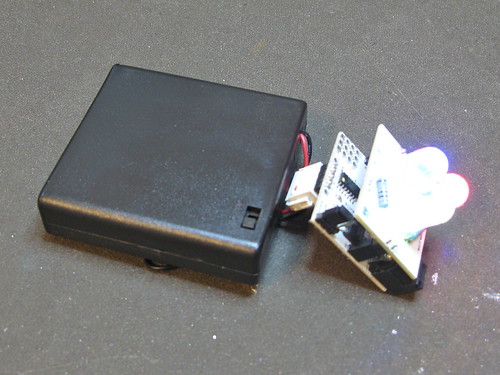
Make a long-lasting, rechargeable battery pack for your BlinkM MaxM, BlinkM, or BlinkM MinM using just pliers, no soldering!
BlinkMs are perfect for portable, stand-alone uses. There are many ways to hook a BlinkM to battery sources. Here’s one way that works for all BlinkMs.
BlinkM Battery Pack: Step 1: Get all the parts together
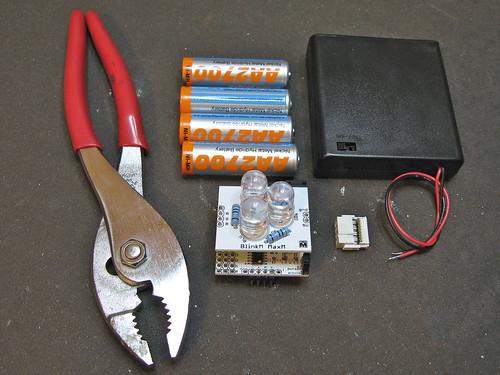
Parts are:
– BlinkM MaxM, BlinkM, or BlinkM MinM
– 4xAA battery holder with switch, like this Jameco one or Mouser one
– 4xAA NiMH batteries (not alkaline!)
– 2×8 IDC crimp connector (FCI 71600-308LF), from Digikey 609-3570-ND or Mouser 649-71600-308LF
Tools you’ll need:
– pliers with wide jaws to crimp
– cutters to trim excess wire
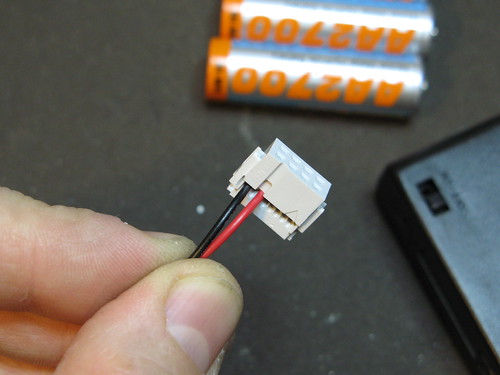
BlinkM Battery Pack: Step 2: Thread in battery wires
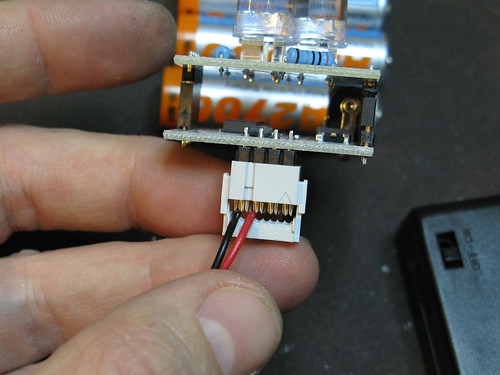
Make sure black wire goes to first crimp slot and red wire goes to third crimp slot. (when counting from left side)
BlinkM Battery Pack: Step 3: Crimp connector
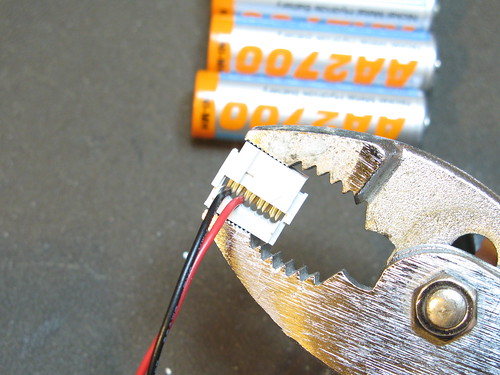
With pliers set to wide jaw mode, carefully crimp the connector together. Be sure to make sure the two pieces come together straight. If you’re unsure that your pliers can work, you can try using a vice.
BlinkM Battery Pack: Step 4: Inspect crimped wires
Look at the crimped assembly. The wires should be in their channels; the red wire in the 1st channel and the black wire in the 3rd channel.
BlinkM Battery Pack: Step 5: Trim excess wires
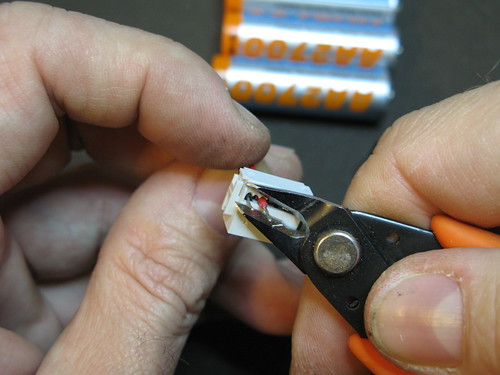
Using cutters, trim off the wires sticking out the other side so they don’t short together.
BlinkM Battery Pack: Step 6: Plug in batteries

Insert the batteries (remember, NiMH only), plug the connector onto the BlinkM, the flip the switch on the battery pack. The BlinkM should start playing its light script.
Done!

Now install the completed BlinkM Battery Pack in your project. Good AA NiMH batteries will last up to 20 hours on a MaxM before needing to be recharged.
Hi Christina,
You got it exactly. Besides NiMHs being rechargeable, their 1.2V output voltage makes it easy to put four together to get close to 5V without needing any extra circuitry.
Is the reason why you’re using NiMH AA batteries because the voltage is 1.2V and so you get in series 4.8V? with alkaline @ 1.5, it would put the 4 batteries at 6V which would be over your 5.0V blinkM limit… or is there another rationale for NiMH?
Just curious. Many thanks.
Isn’t the wiring wrong? On the BlinkM negative is pin 1 and + is pin 2…
sweet! you’re awesome todbot, thanksh. and now i wanna make the scary shifty servo eyeballs too! cool blog, my good sir.
Yup, you can totally run multiple BlinkMs off a single battery pack. As many as you want, really. It just drains the battery pack faster. (a 4xAA pack will probably last >24 hours, so you’re okay I think :-)
possibly a silly question…would it be possible to run 2 BlinkM (MinM)s at once off of 1 power supply like this if you added another connector? also, thanks for the tutorial – you have made my halloween since it isn’t always convenient to have an arduino plugged in :)