Playing with AxiDraw for the Holidays

For the month of December, Carlyn and I are making a vaguely tree-shaped “calendar” with 31 boxes, 30mm x 30mm each. This is a design exercise to get us more familiar with the very fun EMSL AxiDraw, an easy-to-use pen plotter. We each get half of the days, randomly, and each of those days’ boxes must be filled with a little 30mm^2 bit of art. You can see the on-going progress on our Deep Fried Neurons Happy Hour posts and livestreams.

I’m not very experienced with pens and paper (when my 9th grade teach said I could turn my essays in on printout, my little dot matrix went into overdrive and I’ve never looked back). So messing around with pens and the AxiDraw (and just the aesthetics of plotters in general) has turned my eye towards 70s-era design. My “day 4” piece was the MICR check font I recall seeming so space-age when I saw it as a kid. Seeing the weird shapes of the MICR numbers without context makes them seem like alien symbology, which I guess they kind of are. For my “day 9” I went to 7-segment LED displays. I remember these displays being the epitome of high-tech with their otherworldly monochromatic red light. Now we’re so used to LED light it doesn’t seem strange. For my “day 6” I wanted to do something with hexagons (the bestagons). By now my design sense was firmly 40 years in the past. So I combined a very ’70s yellow-brown gradient (done with 4 marker types) and a six-unit pattern of hexagons. Hexagon grids was very space-age then, what with the hexagon-based space frames and geodesic domes.

By far the most difficult aspect of doing multicolor plots on the AxiDraw has been registering pens of different diameters. Carlyn came up with a clever trick of using transparency film to make re-zeroing easier, but I always am off a bit (see how the red of the “9” is a bit off) But one of the best aspects of the AxiDraw is the *tup* sound the pen makes as it drops to the surface. Listen to it in the video below.
MagTag Day of Week

I’ve been very excited by CircuitPython’s move into the ESP32-S2 space. The ESP32-S2 is a WiFi-enabled microcontroller with built-in USB and a crypto engine so it can do HTTPS properly. And in Python! CircuitPython is much more pleasant than Arduino for network-based tasks, where there’s lots of string processing.

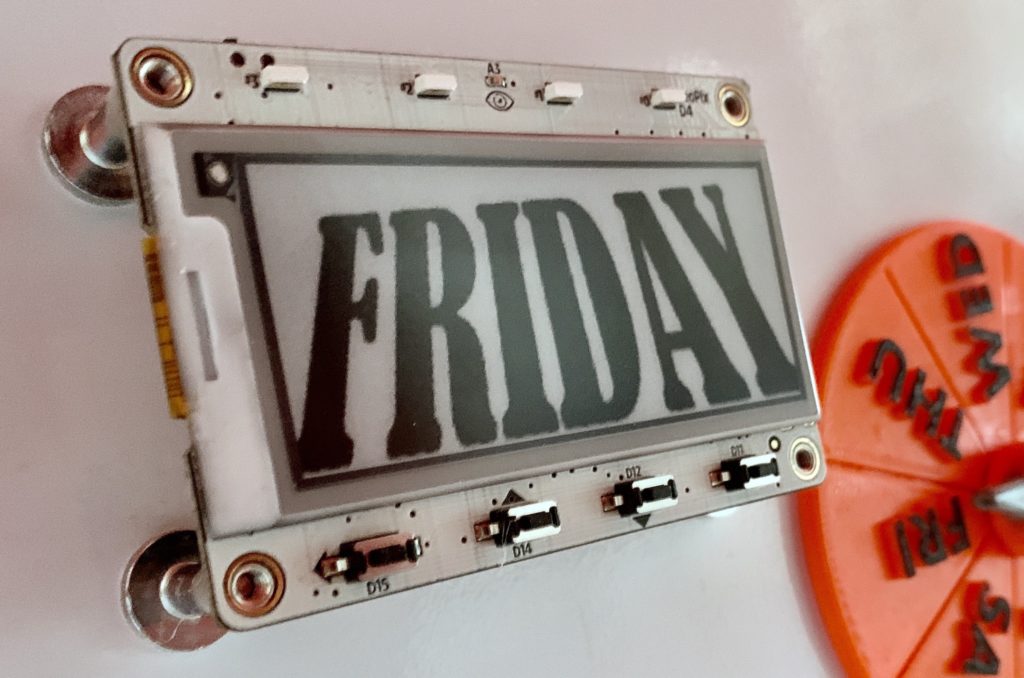
So for this week’s Deep Fried Neurons Happy Hour, I decided to take a cue from Carlyn’s revisiting a DFN project and revisit my “day of week” device. The first one was an orange 3d printed “week wheel”, partially seen above. Now it’s an ePaper- and ESP32-S2-based MagTag from Adafruit. The MagTag device is really nice. And it’s got little magnet feet! I put the code up on github. It’s basically a clock, but one that only updates once a day. Each day’s display is a typographic take on what I often feel on each day. Monday is serious and tilted up: “We’re gonna do this!”. Tuesday is a “work day, just work”. By Wednesday I’m starting to slip. Thursday my energy is regained! On Friday (above) I’m optimistic for all I’m going to do on the weekend, but with a little trepidation. (I usually just slack). Saturday is all relaxed, yup I’m slacking. And with Sunday, I’m worried about the upcoming week, I can’t believe the weekend’s already over!

Currently the code updates the display once an hour. Since ePaper displays require no power when not changing, it really could only wake up once-a-day. The battery should last for weeks. The CircuitPython team is continuing work on low-power modes to reduce power consumption, so battery life could get even better. It solves one of the main problems I had with my 3d printed “week wheel”: it required me to update it manually every day. Now the fridge can tell me what day it is because… what day is it?

Converting Pixel Art for Matrix Portal

“The spice must flow”

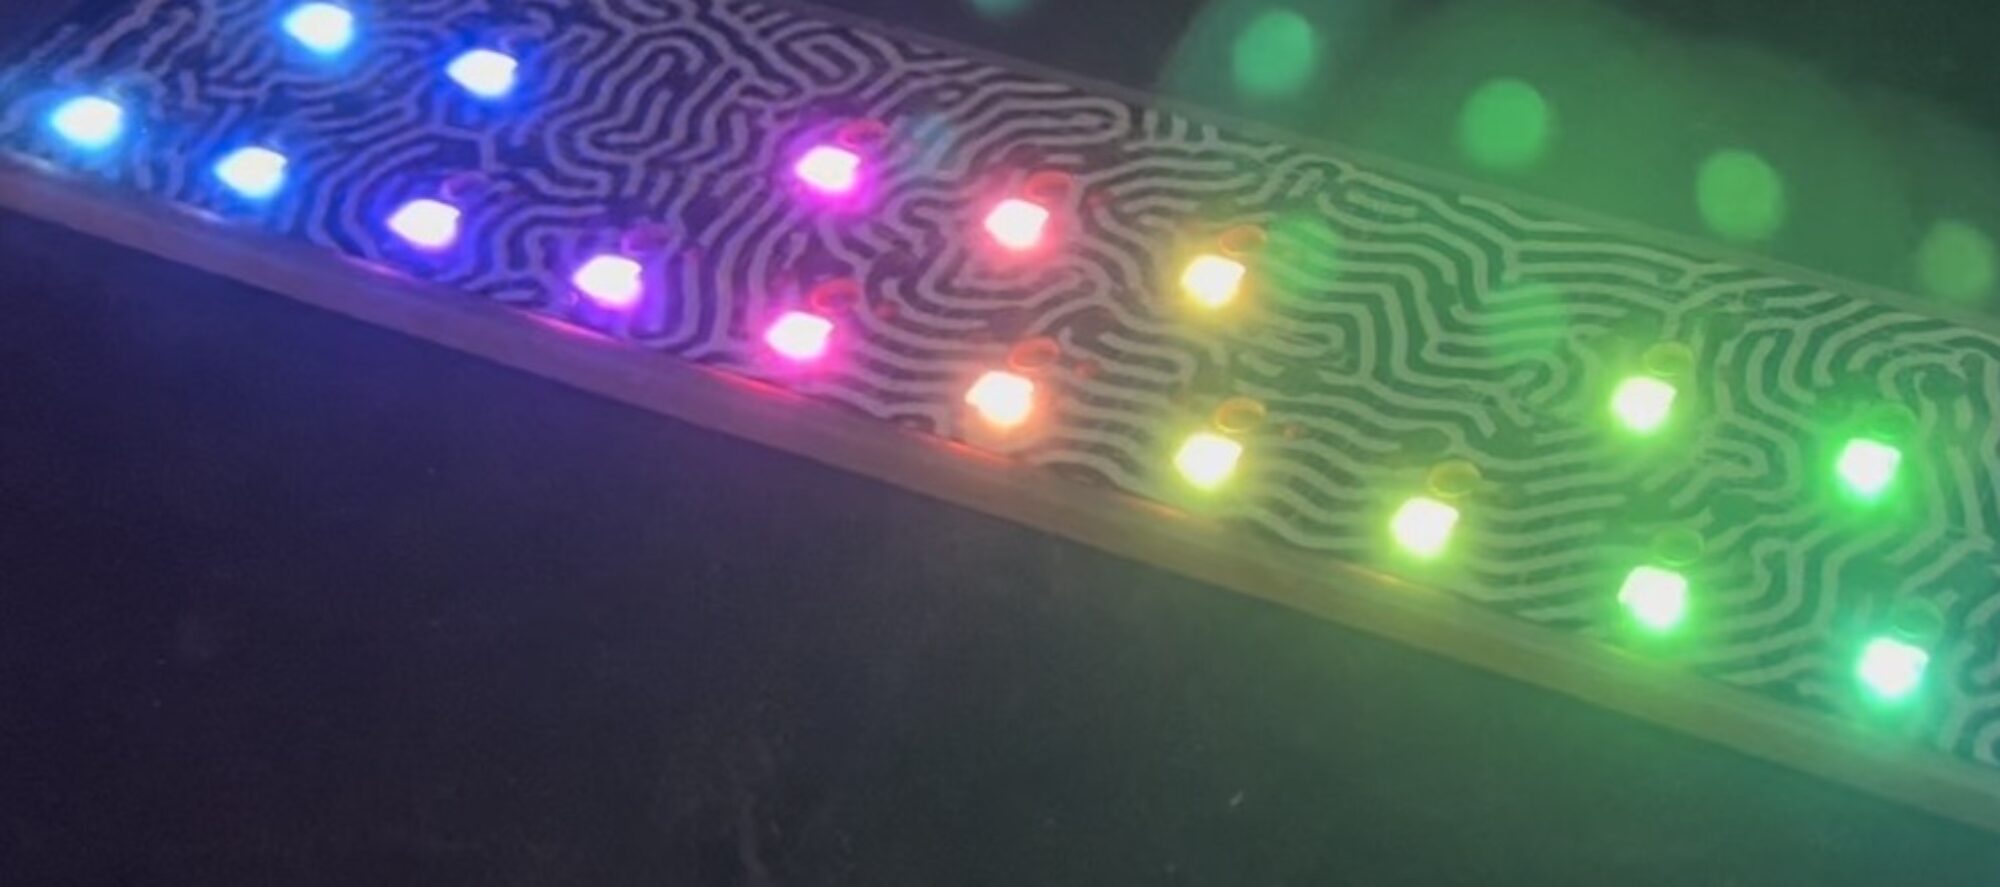
I tried my hand at pixel art and discovered I cannot do it. But I wanted to honor Justin in a pixel arty way, so I instead tried my hand at converting some of his pixel art for display on a 32×64 RGB LED matrix driven by a Matrix Portal driving. This wasn’t so easy. First, scaling down the already abstracted ~250×250 pixel images to something around 32×64 doesn’t look right if you use normal resize techniques: the results are too fuzzy. Thankfully ImageMagick has an “–adaptive-resize” option that preserves the sharp color transitions of pixel art. Secondly, most of his art was relatively 1:1 square in proportion but the LED matrix is a 2:1. This means some editorial cropping of the images to keep the most salient parts visible. Not an easy task when every pixel counts. I hope I did them justice.

More Spoooky CircuitPython Circuits

Here’s two more “Spoooky CircuitPython Circuits” using the QT Py board and purposefully small programs, part of my QT Py Tricks series. Go there for the source code. The first circuit is a pair of OLED displays arranged like eyes. Behind a mask it looks really good!

The second circuit is the old trick of using capacitive touch sensors in an analog proximity mode. The result can be pretty twitchy and highly dependent on environment and power supply, but it looks good on camera! :-) And in a more defined use (like on a PCB) can give repeatable results, like the “analog” A input on my TrinketTrigger Eurorack module.

Spoooky CircuitPython Circuits!

After using Python for a decade, I’ve decided to finally get better at it. I think diving into CircuitPython will be a nice scaled-down universe to learn to write concise “Pythonic” code. For hardware I’m using Adafruit’s new QT Py board and CircuitPython’s new ESP32-S2 support. And for a theme this month I want to do “spooky circuits”, sort of a callback to my Spooky Arduino class from 2006.

I’ve been working on a “QT Py Tricks” page on github, where I’m cataloging for myself how to do basic microcontroller things in CircuitPython, in the even more reduced footprint that the QT Py and Trinket M0 boards provide (they don’t have the extra flash space that enables about half of CircuitPython’s abilities, e.g. see the support matrix)

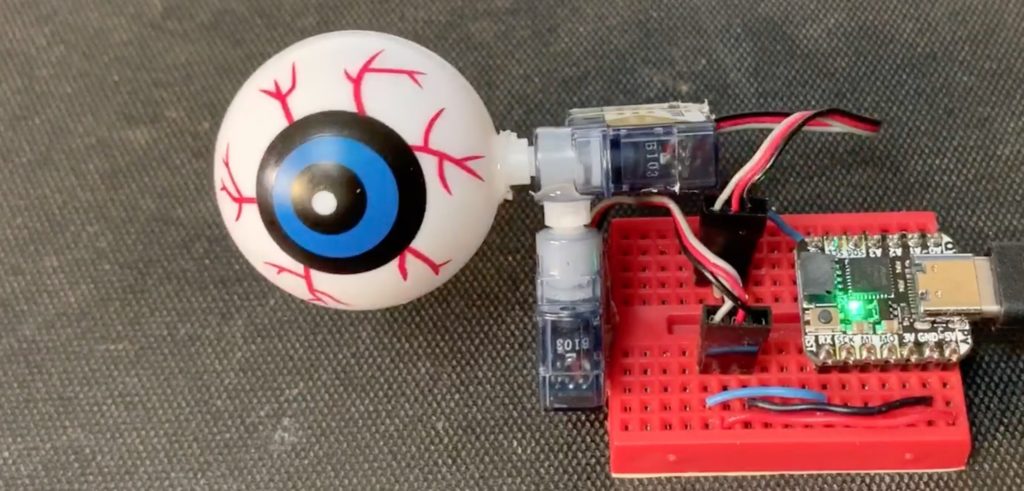
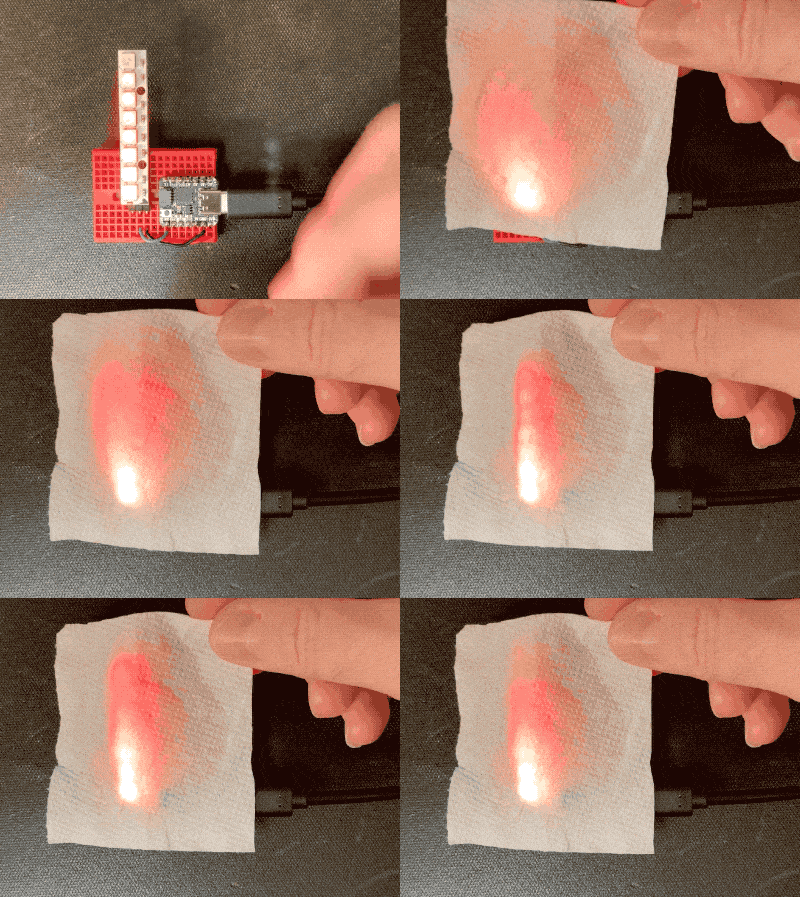
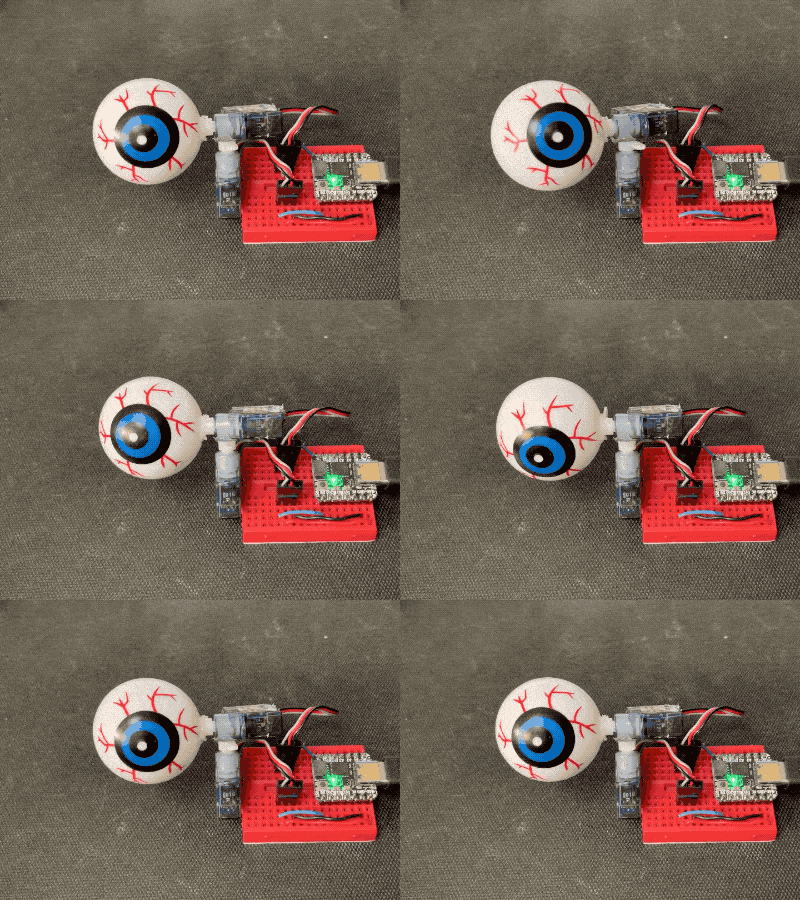
Here’s two of the spooky projects I have so far: a tiny fire simulation and a scary servo eyeball. For the code, check out the QT Py Tricks page. Stay tuned for more!

Prevent annoying Mac ._ files on CIRCUITPY

Example: Unzip & Download files to CIRCUITPY

The entire process in a single session, using a neopixel example:

% unzip adafruit-circuitpython-bundle-6.x-mpy-20201003.zip
% xattr -cr adafruit-circuitpython-bundle-6.x-mpy-20201003
% cd adafruit-circuitpython-bundle-6.x-mpy-20201003
% cp lib/{neopixel.mpy, adafruit_pypixelbuf.mpy} /Volumes/CIRCUITPY/lib
% cp examples/neopixel_simpletest.py /Volumes/CIRCUITPY/code.py

(Or like JP suggests in the comments, you can use “cp -X” to not copy extended attributes: e.g. cp -X /examples/neopixel_simpletest.py /Volumes/CIRCUITPY )

Background

On the Mac, the OS stores a bunch of different meta information about files inside those files. These are called “Extended Attributes” or “xattrs”. If you copy a file on a Mac to a thumbdrive or network share that doesn’t support extended attributes, macOS attempts to convert those xattrs to a plain file format. That’s what the ._ and .DS_Store files are.

These files are normally just an annoyance, but for CircuitPython devices with little flash storage space, like the Trinket M0 or QT Py, it can be a real problem. So here’s some tips.

Treat files as contaminated and No Finder

If you have a folder on your Mac with files you want to copy to the CIRCUITPY drive, do not use the Finder to copy the files. Or to look at the directory those files are in. Or to look at the CIRCUITPY drive. Instead you must use the command-line. Any time the Finder shows you files, it may recreate these xattrs or the ._ files on CIRCUITPY.

See extended attributes with xattrs

The system tool xattrs lets you examine extended attributes. For instance, let’s say you just downloaded and unzipped the latest CircuitPython library bundle. In the Terminal, you can run xattr -r on the directory to see all attributes on all files in that directory. The example below shows how they all have the quarantine attribute set because it’s a file downloaded from the Internet.

% xattr -r adafruit-circuitpython-bundle-6.x-mpy-20201003
adafruit-circuitpython-bundle-6.x-mpy-20201003/VERSIONS.txt: com.apple.quarantine
adafruit-circuitpython-bundle-6.x-mpy-20201003/examples/lsm303_simpletest.py: com.apple.quarantine
adafruit-circuitpython-bundle-6.x-mpy-20201003/examples/is31fl3731_pillow_numbers.py: com.apple.quarantine
[...]

Delete extended attributes with xattrs

You can delete these attributes on all files in a directory with one command. Copy the files immediately after doing so before the Finder recreates them.

% xattr -cr adafruit-circuitpython-bundle-6.x-mpy-20201003

Remove existing ._ files with dot_clean

If you accidentally copied files without using xattr -c or otherwise have ._ files. You can delete them by hand or use the system tool dot_clean to remove them from the whole drive:

% dot_clean /Volumes/CIRCUITPY

Any time it feels you’re running low on CIRCUITPY disk space, check to see it’s not full of these dang meta info files.

Most of the stuff about xattr came from this nice post by JayRizzo on StackOverflow.

Eurorack diversion: PT2399 Karaoke delay module hack

I’ve not been working on my Touring Machine Eurorack modular synth module, but I have been hacking a bit in that space. Back in 2019 John Park and I saw the Waveform Magazine DIY PT2399 delay module article. I got the parts and half-assembled mine, but the build guide was pretty vague in some areas so I just left it. This week I picked it up again and got it working!

The PT2399 chip is a weird little beast but is very cheap for a delay unit. The ebay listing for a fully-built PCB with preamps and jacks is <$9 (and forms the basis for the Waveform module).

Some quick hacks on it and it turns into a usable Eurorack delay module that’s also noisy and distorty, which can be fun. Here’s a little demo video of it in action:

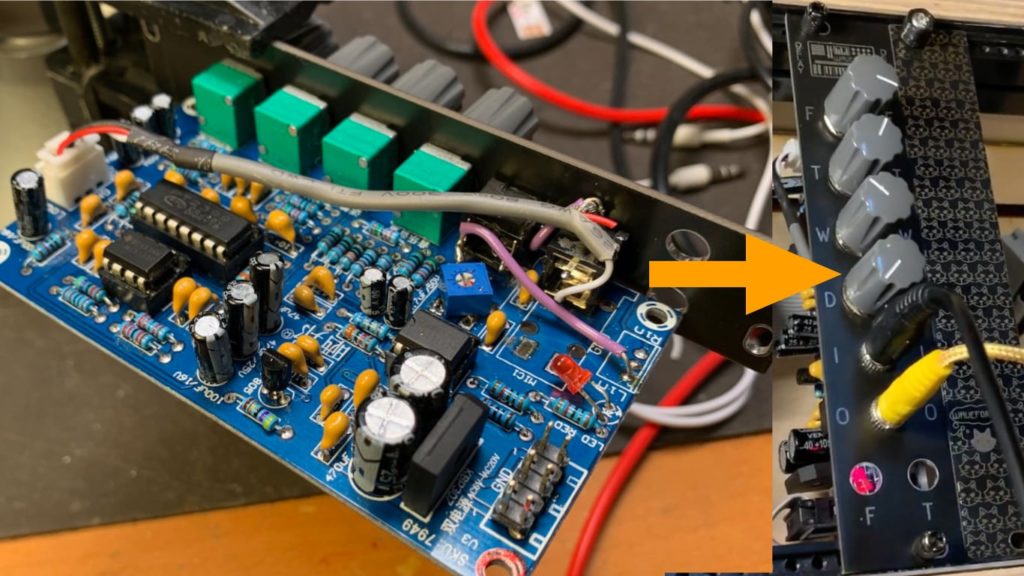
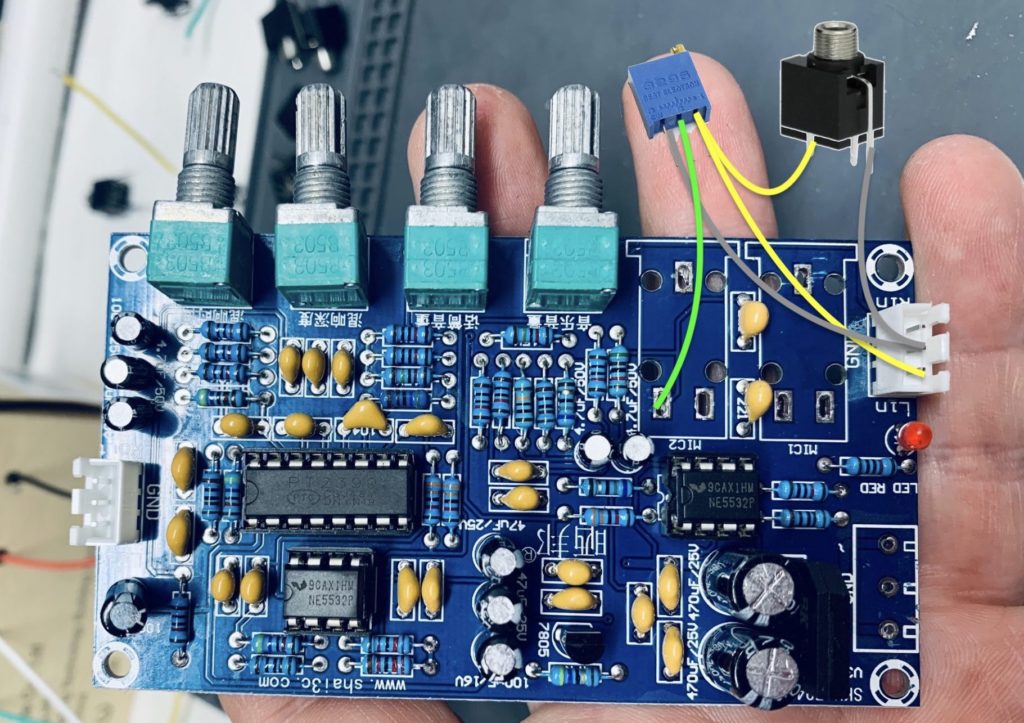
Also to make it more usable with Eurorack-level audio signals, I added a 10k trimpot to the input jack, before the “mic2” input, kind of like the pic below. It provides you with a much more usable range on the “wet” knob before it distorts.