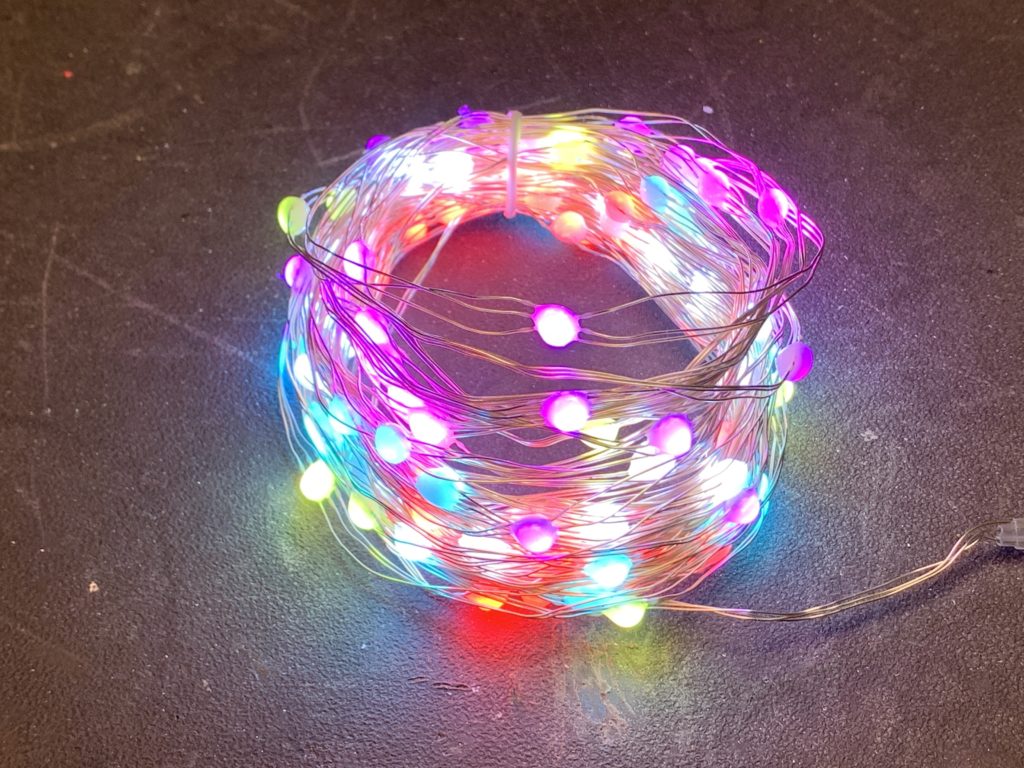
Neopixel LEDs with only two wires?! Just data & ground? What kind of magic is this?
This is my take on this hack that Parallax Propeller forum user “Tubular” posted about in 2014 (!)
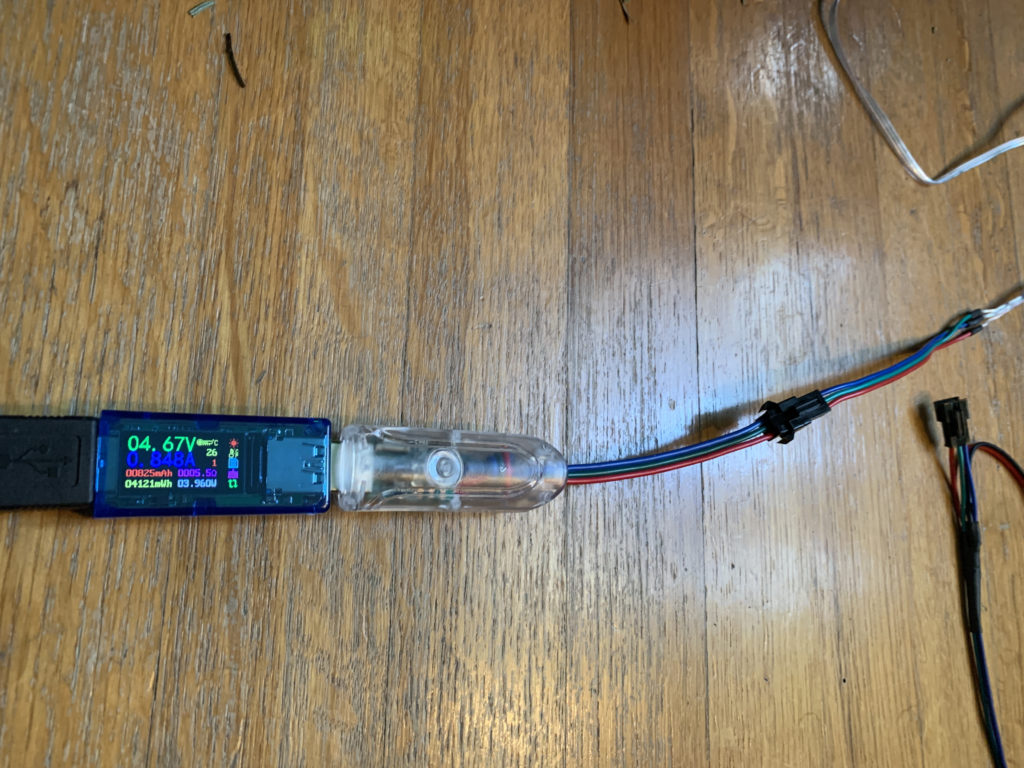
The trick is that the data line is carrying power, and a capacitor and Schottky diode are on the strip to separate out the data from the power. The capacitor holds the charge (mostly) for the LEDs as the WS2812 data line goes LOW and the diode keeps the capacitor’s voltage from interfering with the data line.


To keep the strip powered, make sure to set the data line HIGH after every frame of data sent. This keeps the strip powered. This technique works with most any WS2812 / NeoPixel library on Arduino or CircuitPython. If you want to try two-wire NeoPixels out in Arduino, one way is to change your “strip.show()” (if using Adafruit_NeoPixel library) to the function “strip_show()” shown below. The example a lightly-edited version of Adafruit_NeoPixel’s “strandtest_wheel”.
For CircuitPython, check out this gist.