Mozzi is an audio synthesis library for Arduino that can do multi-oscillator synthesis with filters and modulation on even an Arduino Uno.
Oskitone Scout is an adorable tiny keyboard kit, based on an Arduino Uno and entirely open source.
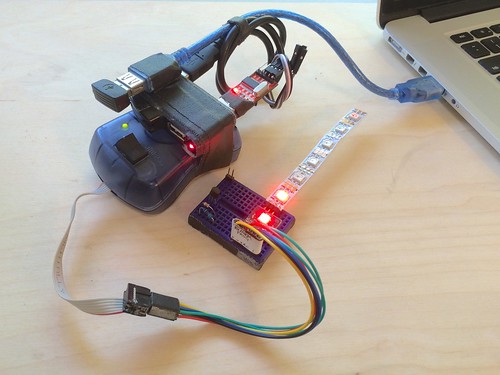
I’ve been playing with Mozzi recently after first hearing about it many years ago. The Scout seems like a perfect platform for those experiments. I’ve been putting on these experiments in the MozziScout github repo.
Here’s some examples of using Mozzi on Scout, along with the small mod needed to make it work.
- mozziscout – a straight-forward Mozzi version of the ‘scout‘ sketch that comes on Scout
- mozziscout_monosynth1 – a fat mono synth, made of two detuned oscillators and a single resonant low-pass filter. Also features different startup modes to tune synth paramters. (see sketch for details)
- mozziscout_drums_bass – a 4-voice drum sample kit (bd,sd,oh,ch) and a single oscillator synth in one!
- mozziscout_chordorgan – a 5-oscillator synth with built-in chords! Sort of like Music Thing Modular’s Chord Organ.
- mozziscout_poly – a poly synth, sort of. Scout’s keyboards doesn’t allow true playing of chords, but with a slow release envelope and the playing of arpeggios, you can make chords
- mozziscout_wash – a five-oscillator stacked chord sound based on the Mozzi example Control_Oscil_Wash
- mozziscout_thx – an eight-oscillator stacked sound where the oscillators start at a random pitch and slowly converge to a chord. Vagugely based on THX Deep Note
Demos
“mozziscout_monosynth1”
“mozziscout_poly”
“mozziscout_thx”
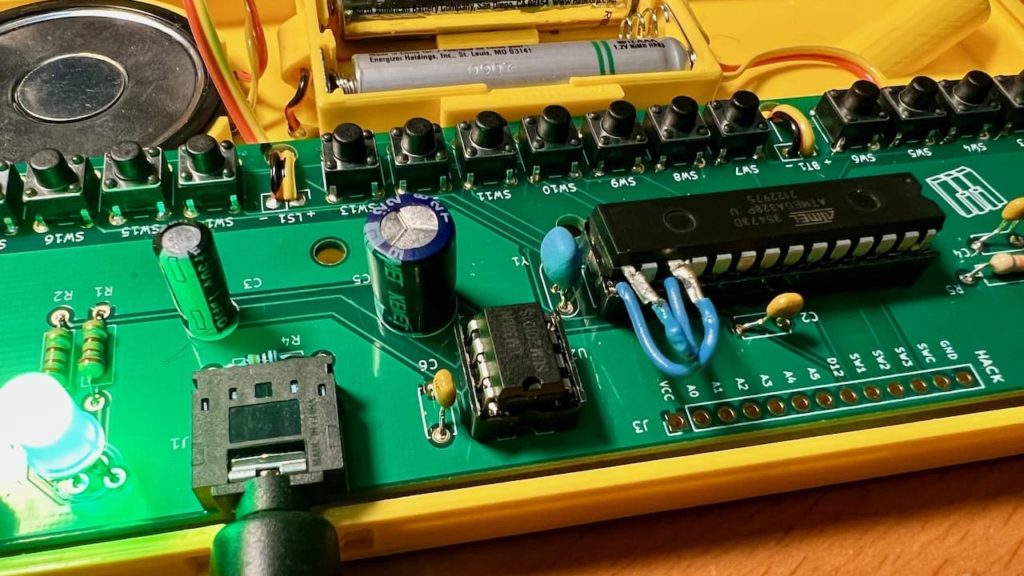
How to mod your Scout
One way two swap this is where the two legs of the ATmega328 chip are lifted, and jumper wires are soldered on and plugged into the socket, as in the photo below.
Using normal Scout code
After this mod, you can still use your Scout like normal, just make sure to swap pins 9 & 11 in the code.
- In scout/scout.ino change:
const int SPEAKER_PIN = 9; // was 11
- In scout/KeyBuffer.cpp change:
byte rowPins[ROWS] = {7, 8, 11, 10}; // was {7, 8, 9, 10}
How to install Mozzi
Mozzi is not in the Arduino Library Manager, but installing it is pretty easy anyway. The installation process is the same way you hand-install any Arduino library.
- Go to https://github.com/sensorium/Mozzi and click on the green “Code” button, then click “Download ZIP”.
- You will get a “Mozzi-master.zip” file. Rename it to “Mozzi.zip”
- In the Arduino IDE, go to “Sketch” -> “Include Library” -> “Install .ZIP library…”, then pick your “Mozzi.zip” file.
- Once it completes, you will see Mozzi in the list of available libraries and the Mozzi examples in “File” -> “Examples” -> “Mozzi”. Many of the examples will work with Scout but not use the keyboard.
Using Mozzi
- Mozzi is very particular about what is in
loop(). Do not put anything else in there. Instead put it in thevoid updateControl()function. See the sketches for examples. - Mozzi output is quieter than standard Scout (which outputs full-width square waves). Use an external amp for best results.