
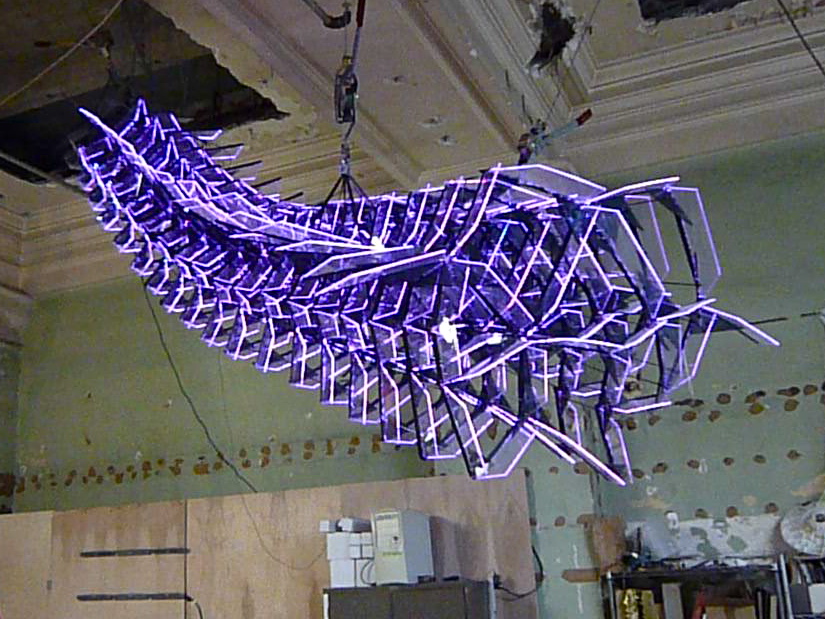
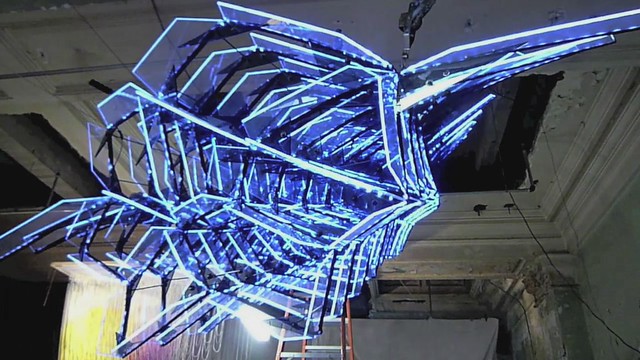
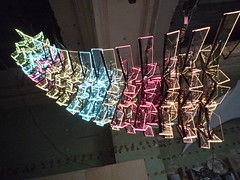
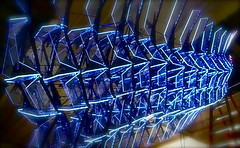
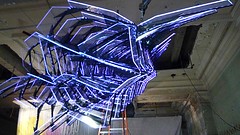
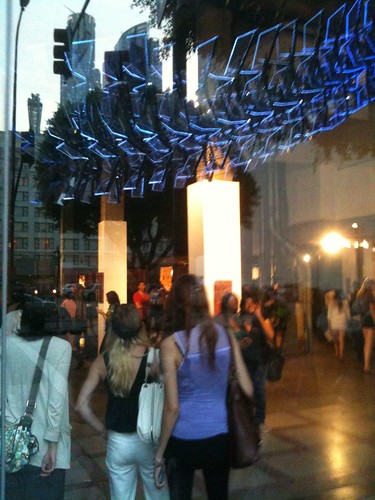
The Crystal Monster is an art piece created by Beverly Tang and Tod E. Kurt (me). It’s on display in the Continental Gallery on 4th & Spring St in downtown Los Angeles. The shape and structure of the Crystal Monster are Beverly’s design. I created the lighting and the electronics. It’s made from over 400 sheets of laser-cut acrylic, more that 240 feet of LED tape (>2200 RGB LEDs!), and around 500 steel rods and other steel hardware. It’s approximately 12 feet long and 10 feet wide and hovers 10 feet above your head. It’s got an Arduino brain and 18 BlinkM MaxMs (one per segment) to let it flutter color patterns up and down its length.
A little movie showing it in action:
Go to Beverly’s site for high-quality photos of the Crystal Monster. Check out her other work, she’s an amazing artist.
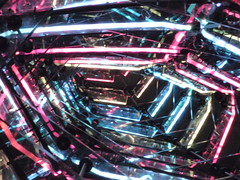
Some of my photos (or click to go to Flickr set):
It was first installed at the Ball-Nogues studio in Downtown Los Angeles as part of their participation in Downtown L.A. Art Walk, and lived there for a few months.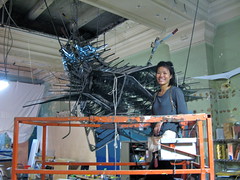
Then it moved to its mostly-permanent location at the Continental Gallery at 4th & Spring in Downtown Los Angeles.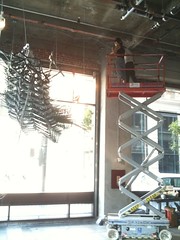
It’s right on the corner, so you can really see it just from walking by on the street.
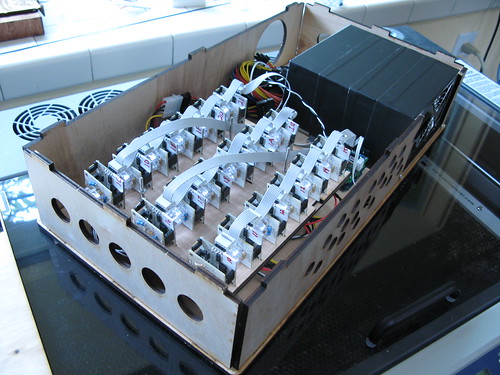
The electronics consist of 18 BlinkM MaxMs driven by a single Arduino, all powered by an ATX power supply. The Arduino has an IR remote control receiver so the Monster’s behavior can be controlled from afar.
Oh I see! Thanks a lot for this quick answer ;)
Hi Antoine,
The LED board on the MaxM is removable. With it removed, you can plug in another LED cluster. In this case, the LED cluster being used is the RGB LED tape, and the LED boards aren’t used at all.
Hi Tod,
I was reading your notes about this awesome project of yours but I am not too sure about one bit. When you talk about your lighting solution you mention led tape (a lot :)) but also the 18 tiny BlinkM MaxM. Also when I look at the photo, it seems the BlinkM MaxM are all in a box, sure their mounted led is not of much use in this box. Hence the question: how do you output the light that comes out of BlinkM MaxMs? And also how do you use these in conjunction with the leds from the led tape?
Thanks,
Antoine.
That’s awesome! It’s really great when electronics and art come together, I don’t think that can ever happen too often.
As a engineer I have to say that your supply/control box is also a work of art!
Thanks for the quick reply. I’m not an artist but these kinds of projects motivate me to play around. Always nice to hear how others do their implementation.
Thanks, EG!
The LEDs are attached via the rather low-tech expedient of gaffers tape. While the flexible LED circuit tape does have a nice adhesive on the side opposite the LEDs, we needed to mate the light-emitting surface of the tape to the acrylic. After many different attachment techniques, we settled on gaffers tape. It’s matte, it’s conformal, and it can be easily removed for repairs.
The steel hardware was 8-32 threaded rod (custom cut to various sizes), nuts, and washers, available from McMaster-Carr, SmallParts, or your local hardware store.
Hi – the monster looks great. Would you be willing to share more info about how you mechanically attached the LEDs to the acrylic and do you have a recommendation for where to get steel hardware for this type of project?
Thanks.