If you are like me, you play around with Neopixel / WS2812-style LEDs a lot. Normally I solder my own custom-connectors and don’t use the ones that come with the reels I buy. But since we’ve been playing around with WS2812-compatible Xmas lights, I decided to make a “Neopixel Dev Kit” for easier experimenting with different LEDs and different ways of powering them. Most LED reels come with a 3-pin JST SM socket (female) connector installed with also maybe a 2.1mm DC barrel connector to inject power (see reel picture below). They’ll also throw in a pigtail JST SM plug (male) connector to attach to your controller. So I standardized on this. The kit as shown consists of (from bottom to top):
- 3-pin JST SM socket (female) added to weird new WS2812-compatible Xmas lights
- Known-good USB-powered WS2812 controller from those lights, rewired with JST SM plug
- Standard 3-pin JST SM plug to JST SM socket, with 2.1mm DC barrel connector power injector
- 3-pin JST SM plug (male) to header pins, for breadboarding
- Known-good normal WS2812 strip with JST SM socket
- 5V power supply with 2.1mm DC barrel connector
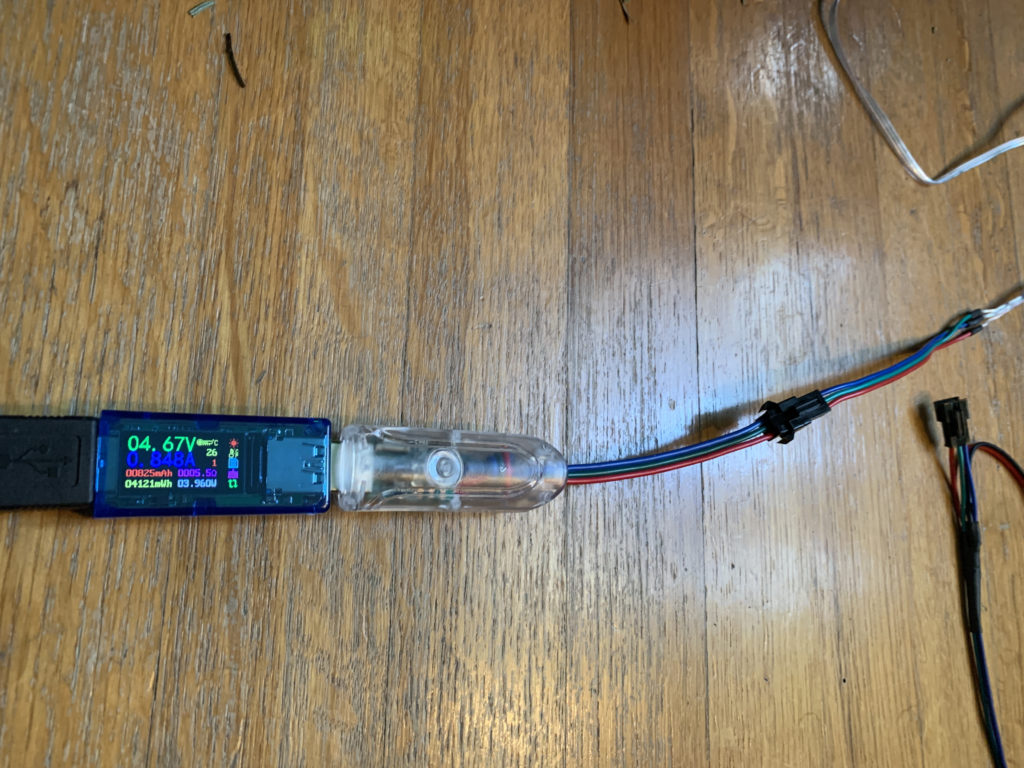
- USB power meter for seeing voltage & amps drawn by any particular setup (see example below)
- Arduino Pro Micro clone on tiny breadboard. This is a 5V microcontroller, so no need to worry about 3.3V -> 5V data issues. And it’s cheap in case we blow it up
Overall it’s working out okay. I need to add a few “sacrificial neopixels” to the mix to make using 3.3V-based microcontrollers and maybe some breadboard screw-terminals.