NFC & RFID on Android, my Where2.0 2011 talk

I was invited to be a speaker at O’Reilly Where 2.0 Conference. It’s a conference mostly about mapping technologies, location-based services, and interesting new location-aware mobile apps.

I spoke about RFID and NFC, in the context of the release of the new NFC-capable Android phone, the Google Nexus S. Having an RFID reader in a phone could cause a big change in how we interact with the world around us. I talked about what RFID and NFC technologies are, how they work, some examples of them in the world and on Android, and how to add NFC capabilities to your Android app. And if the rumors of the new iPhone 5 are true, we’ll soon be awash in NFC applications.

My slides with notes: nfc_rfid_on_android_todekurt_where20.pdf (4.5MB PDF)

And here it is in slideshare:

WiFi for Arduino with Asus WL-520gu

I love Arduino but its lack of wireless bugs me. And it sucks that WiFi Shields for the Arduino cost as much a cell phone. I want something cheap. Turns out, small, cheap WiFi routers like the Asus WL-520gu can run the DD-WRT Linux firmware and act as serial-to-network gateway for Arduinos (or most any other USB device). Here’s how to do it.

(Hey, is this a Wifi-controlled BlinkM? I think it is.)

A quick video showing a router acting as a serial-to-network gateway:

This is not that new of a concept, hacking Linux onto a router for some neat DIY purpose. One of my favorite past hacks is MightyOhm’s WiFi Radio project. And of course, see my own book Hacking Roomba for an example of how to put a Roomba on the Net.

This post is specifically about trying to make a DD-WRT router a transparent gateway for an Arduino.

The steps are:

  1. Install DD-WRT Firmware
  2. Configure Router to be WiFi Client
  3. Do Some Tests
  4. Install USB Serial Drivers
  5. Install Serial-to-Network Proxy

Continue reading “WiFi for Arduino with Asus WL-520gu”

Hacking USB HID for Easy Tethered Ubicomp

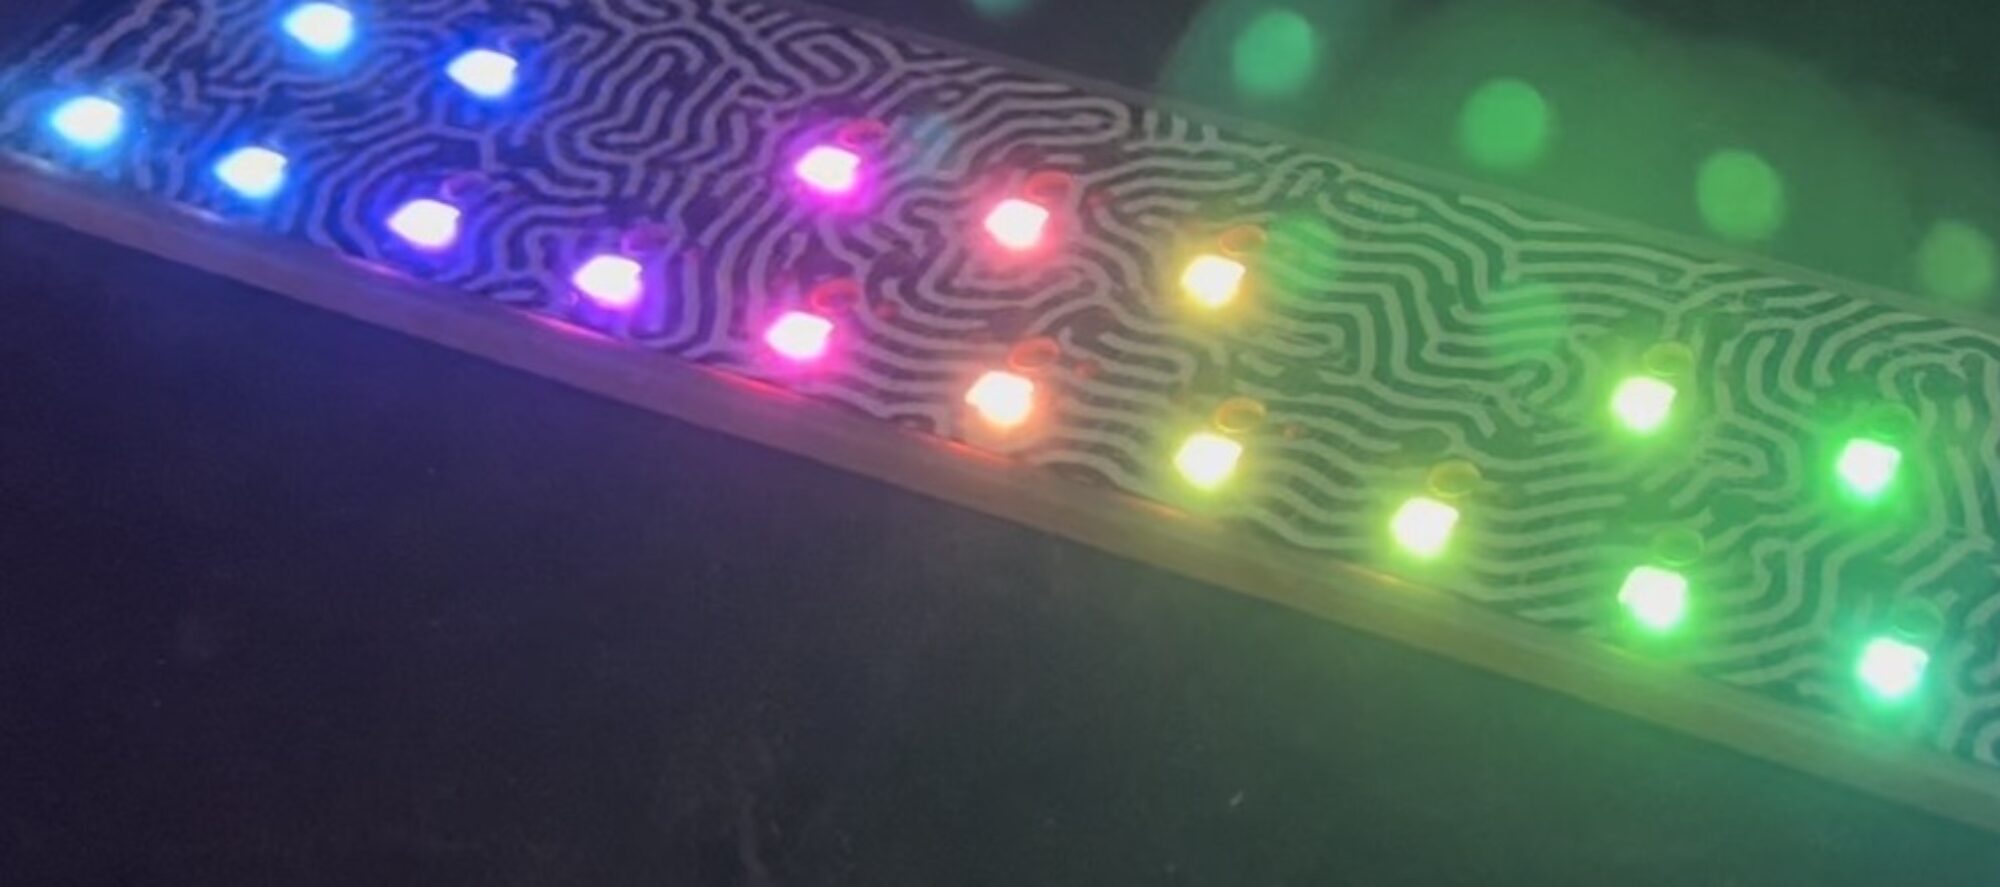
At this years Sketching in Hardware conference, I gave a talk on the general approach I used to create LinkM, ThingM’s USB-to-I2C adapter for programming and controlling BlinkMs. I called it “Hacking USB HID for Easy Tethered Ubicomp” (4.8MB PDF) to give it a form that fit within some of the larger issues I’ve been dealing with in creating easily usable ubiquitous computing devices.

USB has many different (and confusing) aspects to it. I’ve long advocated the creation of a set of libraries and patterns to make “driverless” USB a reality. A sort of training wheels for USB. At the time I called this USB on Rails”, poking fun at RoR.

To me the key to this ease-of-use was the HID class in USB. No driver is needed when plugging in something like a mouse or keyboard. Other built-in device class drivers include CDC (modems), Mass storage, audio (headset), and video (webcam).

While researching HID, trying to make LinkM a “USB on Rails” project, I found that the biggest hurdle was a consistent host-side USB API that would let one write one set of code that could easily be ported to Mac OS X, Windows, and Linux. Libusb works well enough for Unix-like OSes like Linux and Mac OS X, but the Windows variant libusb-win32 required a driver install. So I put HID away.

For many months I investigated using CDC instead of HID because it maps down to a serial port on modern operating systems. Unfortunately, CDC has two main problems. For the “serial port emulation” mode, mapping to serial port semantics is problematic for a USB device that can be removed at will. If a device is removed while it is still “connected”, the OS and application can get confused or crash. Also, the CDC driver implementation seems brittle on Mac OS X. Some CDC devices can work fine, others wouldn’t. I can see now why FTDI and similar vendors use a custom driver for their USB-to-serial chips.

When looking back into HID after the frustration with CDC, I discovered that V-USB, the software-only USB firmware stack for AVR microcontrollers, had two interesting HID-based projects in them with a cross-platform host-side library for talking HID. The first was BootloadHID, a HID-based bootloader, and the second was “hid-data”, one of the examples. And there was a nice discussion of the platform differences on the V-USB wiki.

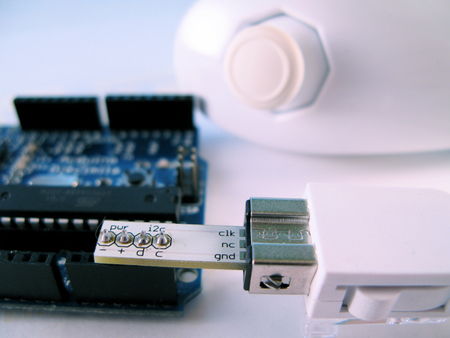
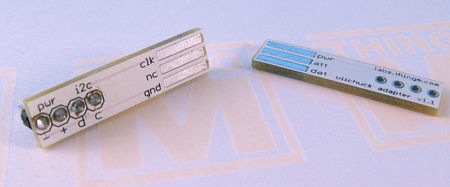
With that, I took both of those projects, generalized them slightly, then specialized them for LinkM and made them the core of the LinkM project. You can view the resulting source at the LinkM Googlecode project.

Too Much RFID

[This post was part of a CrashSpace mailing list discussion on a “proximity t-shirt”: a shirt that would light up or similar when other similar t-shirts were nearby. People were wondering how good RFID was at localized detection of tags.]

Okay so I’m a big RFID nerd, did a lot of consulting work using it. So here’s a quick brain dump.

Regular passive RFID is designed for identification not localization. The RFID tags can be reliably read only to within a few centimeters. But the readers are cheap. You can get 128kHz (LF) and 13.56MHz (HF) RFID readers for $20-40 and the reader chips themselves for under $2. RFID tags that work with these systems are around $1. These systems typically cannot handle multiple tags in the reader’s field at a time.

UHF (900MHz-2.4GHz) passive RFID readers can read up to a few meters, and the tags can be a $0.05 in large quantities. The readers can get pretty expensive though: >$1000. These are the systems used by Walmart et al to read a palette of Mach3 razors as they transit the warehouse. And by the marathon race timers. The standard is called EPC, if you’re interested. These systems can handle a few hundred tags in the reader’s field, but read time goes down exponentially with tag count.

“Active RFID” has ranges up to hundreds of meters. The term “active RFID” is a bit loose, since one can describe a WiFi laptop or a cellphone as active RFID tag. Really it just means an RF radio system that transmits a unique ID using its own power source. There are active RFID versions of all the above technologies. Eric’s suggested use of the RF Link boards is essentially an active RFID beacon. One of my favorite active RFID designs is OpenBeacon (http://www.openbeacon.org/ ). It uses the ubiquitous Nordic RF chips (used in almost every wireless keyboard & mouse) Sparkfun has a ton of Nordic boards to play with.

“Localization” of RFID tags can mean two things. For normal passive RFID, the tag is “located” when a reader sees it. It’s a boolean: sees it / doesn’t see it. This is often called “proximity detecton”. So one way to approach localization is to just have a lot of readers. True localization (knowing where in a reader’s field-of-view a tag is) is pretty tricky. The main issue is just finding how far away an RF source is. The simplest is signal-strength (”the louder you are the closer you are”), but that falls prey to the non-homogeneity of the environment: in free space it would work; in a room full of RF-absorbing humans, it fails. If you’re really savvy, you can do time-of-flight calculation. The reader sends out a ping and measures the time it takes to receive the tag’s echo ping. This requires nanosecond-accurate clocks on the reader (speed of light is very fast) and falls prey to multipath distortion (reflections off the environment). And then you need multiple antennae for a single region to do triangulation. It’s hard, but RFID vendors are starting to release stuff.

“WiiChuck” Wii Nunchuck Adapter Available

Want to hook up a Wii Nunchuck to an Arduino but don’t want to cut up the cord on your Nunchuck? Yeah me too. So I made some of these:

wiichuck_adapter1.jpg

wiichuck_adapter2.jpg

It’s a small PCB that adapts the Wii Nunchuck connector to standard 4-pin header. I call it the “wiichuck adapter”. It plugs directly into the Arduino, no wiring necessary. You can get one too for $4.

Available from the following wonderful shops:
FunGizmos.com. FREE DOMESTIC SHIPPING. International shipping for $1 more.
Little Bird Electronics (Australia)
SparkFun. Ships domestic & internationally. Be sure to order header pins too!
– and just about any SparkFun distributor

Continue reading ““WiiChuck” Wii Nunchuck Adapter Available”

WineM lights, a BlinkM predecessor

With BlinkMs available for purchase soon, I figured it would be neat to show what a large collection of them can do. BlinkMs were created from my desire to have a “smart LED” that did its own tri-color PWM. I didn’t want to build a real-time system to control the PWM of several hundred RGB LEDs. And existing LED controllers didn’t meet my needs. I wanted something that knew a bit about color and color patterns and could be networked together into clusters. Thus BlinkM. A single BlinkM is fun, but the real utility is seen when you have several of them on the same I2C network.

Below are two movies of the lighting system in WineM, our smart RFID winerack. Each place a bottle goes contains a essentially BlinkM and RFID reader controlled via an I2C master.

WineM prototype at NextFest


This video shows WineM in use. A handheld web device allows one to select and display different facets of the wine collection. In the video, first all wines are shown, colored by varietal, then Cabernet wines are selected. Within the Cabernets, color them by year. Select 2002 as the year and only the 2002 Cabernets are shown. Then color those by price. Finally, select the 2002 cabernets that are between $20-$30. You’re left with the perfect wine for tonight’s meal. Also shown is the visual indication when bottles are added or removed.

WineM prototype light tests


This is just a light show using the WineM lights. It was taken right after I had assembled and installed everything in the rack. Apologies for the exposure fluctuations.

For a bit more detail on the WineM prototype hardware, see this post.

Things at ThingM, my Berkeley INFO290-13 talk

On Nov 8th I was a guest lecturer at the “Theory and Practice of Tangible User Interfaces” class at UC Berkeley. It’s a physical computing course, about “a new approach to HCI which focuses on the physical interaction with computational media.” The class has both lecture and lab components. The lab section is hands-on experimenting with novel physical interfaces, using Arduino as the core. So of course I have a great fondness for the course.


things at thingm

The talk itself was a sort of summary of the things we’ve been pondering at ThingM. If you’re already familiar with the stuff Mike and I have been talking about for the last several months, there’s not much new. But for me it was interesting to put it all together into one package and attempt to construct a narrative that threads it all together. The talk covered:

  • Computation as Material
  • Smart Interface Components
  • Reversible Hacking
  • Technology Sketches
  • Informational Objects

Before my talk I got to see the in-progess work of the students’ final projects to create new kinds of musical instruments using a variety of input devices, Arduino, Processing, and so on. It was great. I was invited to be a guest lecturer by fellow Sketcher Kimiko Ryokai, an assistant professor at Berkeley’s School of Information. Thank you, Kimiko, for letting me be a part of your class and to meet your students. The class was 40 strong and it’s obvious there’s a lot of interest in the process of making software interact with the real world. I hope more schools follow in this one’s path.

The PDF of my slides with notes is here:
berkeley_info290-13_todkurt.pdf (8.8MB PDF)