Behold the Crystal Monster

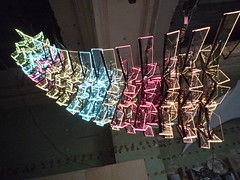
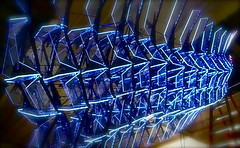
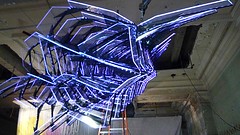
The Crystal Monster is an art piece created by Beverly Tang and Tod E. Kurt (me). It’s on display in the Continental Gallery on 4th & Spring St in downtown Los Angeles. The shape and structure of the Crystal Monster are Beverly’s design. I created the lighting and the electronics. It’s made from over 400 sheets of laser-cut acrylic, more that 240 feet of LED tape (>2200 RGB LEDs!), and around 500 steel rods and other steel hardware. It’s approximately 12 feet long and 10 feet wide and hovers 10 feet above your head. It’s got an Arduino brain and 18 BlinkM MaxMs (one per segment) to let it flutter color patterns up and down its length.
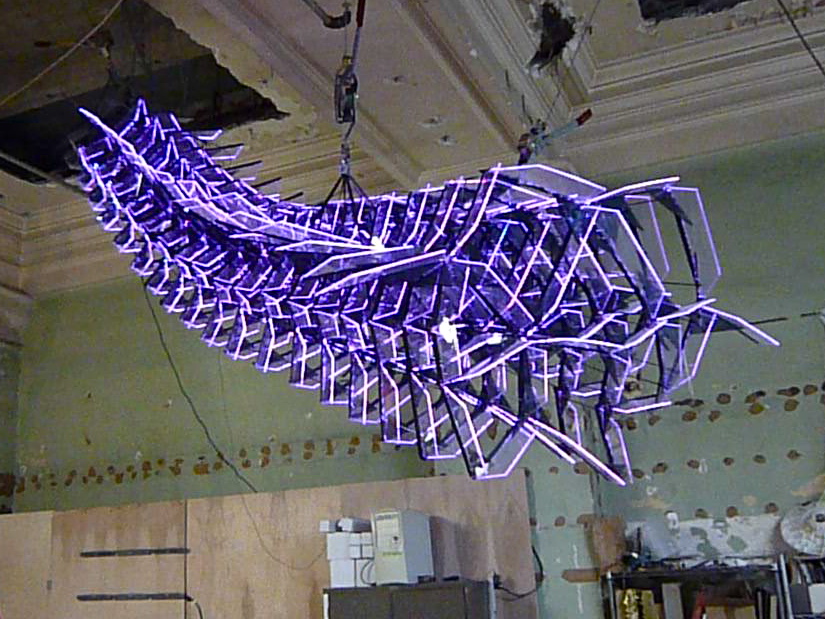
A little movie showing it in action:
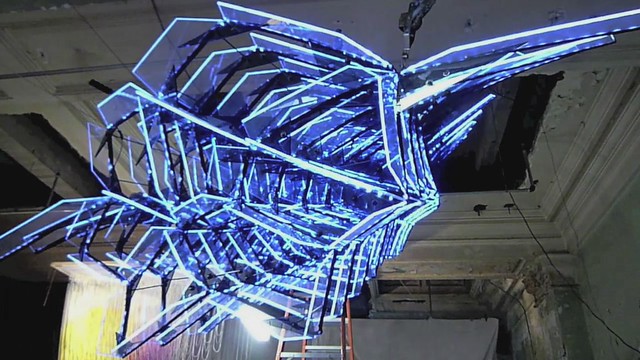
Crystal Monster at Art Walk Downtown July 2009

Go to Beverly’s site for high-quality photos of the Crystal Monster. Check out her other work, she’s an amazing artist.

Some of my photos (or click to go to Flickr set):
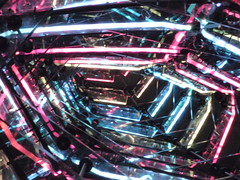
crystal monster eating
crystal monster profile
Crystal Monster at Art Walk Downtown July 2009

It was first installed at the Ball-Nogues studio in Downtown Los Angeles as part of their participation in Downtown L.A. Art Walk, and lived there for a few months.
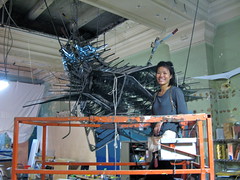
Crystal Monster: final assembly!

Then it moved to its mostly-permanent location at the Continental Gallery at 4th & Spring in Downtown Los Angeles.
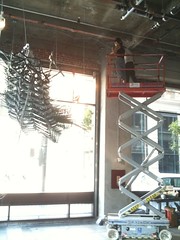
Crystal Monster in its new home

It’s right on the corner, so you can really see it just from walking by on the street.
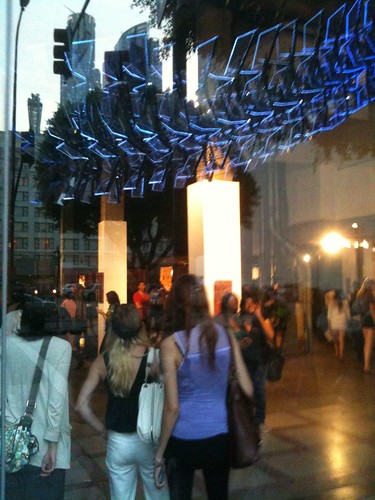
Crystal Monster from the street

The electronics consist of 18 BlinkM MaxMs driven by a single Arduino, all powered by an ATX power supply. The Arduino has an IR remote control receiver so the Monster’s behavior can be controlled from afar.
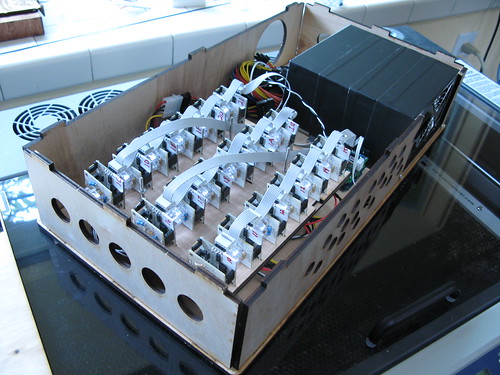
crystal monster control box

Quickie Laser-cut iPhone/iPod Dock

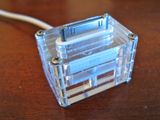
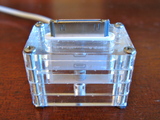
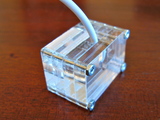
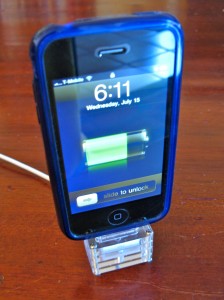
I recently got a case for my iPhone and it’s the kind that precludes the use of the dock. I kind of like the dock concept, but instead of taking a Dremel to the existing dock, I spent a few minutes drawing up a replacement that could be cut from acrylic scraps on the laser cutter. Here’s the result: (click for higher-res)

iphone-dock-1iphone-dock-1iphone-dock-1

iphone-dock-0

It is made of four slices of 1/4″ acrylic (actual width 0.22″). The top two slices have an oval opening just snug enough to fit the ipod connector and keep it in place with friction. The third slice has a channel for the cable to escape out the back, and the bottom slice keeps the cable from falling out and provides some pushback when the iphone is inserted. It’s held together by four 1″ 2-56 machine screws with nuts. I was a little concerned with the nuts scratching the table, so I’ve since added little hot glue feet to the bottom of each nut.

I didn’t add an additional layer at the top to provide lateral support of the iphone because I didn’t have long enough screws. And besides, it doesn’t seem to need it. If I get longer screws, I might make one that has the extra layer, which would also make the dock bigger, to encompass the bottom of the iPhone. And that would be good because it adds more mass to the dock, making it more stable.

If you want to try making one yourself, here are the files:

iphone-dock.eps
iphone-dock.svg
iphone-dock.cdr

Also available on the wonderful Thingiverse

Laser Cut Laptop Stand (and o’scope hugger)

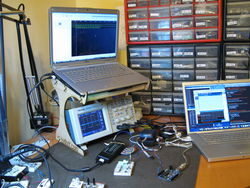
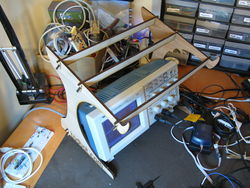
I have one of those USB-based logic analyzers that needs Windows software to make it go. I had been doing Windows-in-a-window with VMWare, but it’s kind of a pain. If I were to use a real Windows laptop, I’d need a shelf or something for it. I wanted it above my oscilloscope, which meant a laptop stand that was taller and wider than most. Time for the laser cutter!

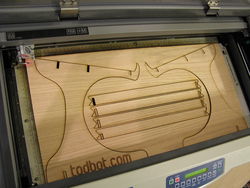
todbot-laptop-stand-2todbot-laptop-stand-3
(click for larger)

My design requirements were:
– assemble without any tooling or fasteners
– fit on a single 1’x2′ sheet of the 1/4″ plywood I already had
– be stable enough to hold a 7lb laptop
– be wide & tall enough for the oscilloscope to fit underneath and be usable.

The 1/4″ (0.20″ really) plywood is cheap, from a big box hardware store. I think I paid $10 for a 4’x8′ sheet of it, and they nicely cut it down to 2’x4′ sheets for me.

It ended up fitting pretty exactly on the 12″x24″ cutting bed of the laser.
todbot-laptop-stand-1

If you want to make your own based off this, here are the vector files:
todbot-laptop-stand-1.eps
todbot-laptop-stand-1.pdf

What prodded me into doing this was the great Cardboard Laptop Stand I saw the oomlout guys had just received. Also, there are so many great DIY laptop stands on Instructables, they created a whole category for it.

Arduino chip sticker label

I’ve been working with a super minimal Arduino setup recently. After seeing Alex’s awesome Arduino/ATmega breadboard header, where he notes there’s no room on the PCB for pin labeling, I wondered if it would be possible to make a small sticker that goes on the ATmega chip, labeling the pin names.

Here’s my first attempt:
arduino-atmega-sticker

And in use:
arduino-atmega-sticker-use

This was created by printing on a full-page sticker then laser cutting it to shape. I could have also just cut out the sticker with scissors, or used regular printer paper and double-sided tape.

Some files if you want to try this out yourself:
arduino-atmega-sticker.eps — EPS of just the sticker itself.
arduino-atmega-sticker.svg — SVG version
arduino-atmega-sticker.pdf — PDF version
arduino-atmega-sticker-lasercut.cdr — Coreldraw file containing instructions & registration marks for printing then laser cutting your own sticker.