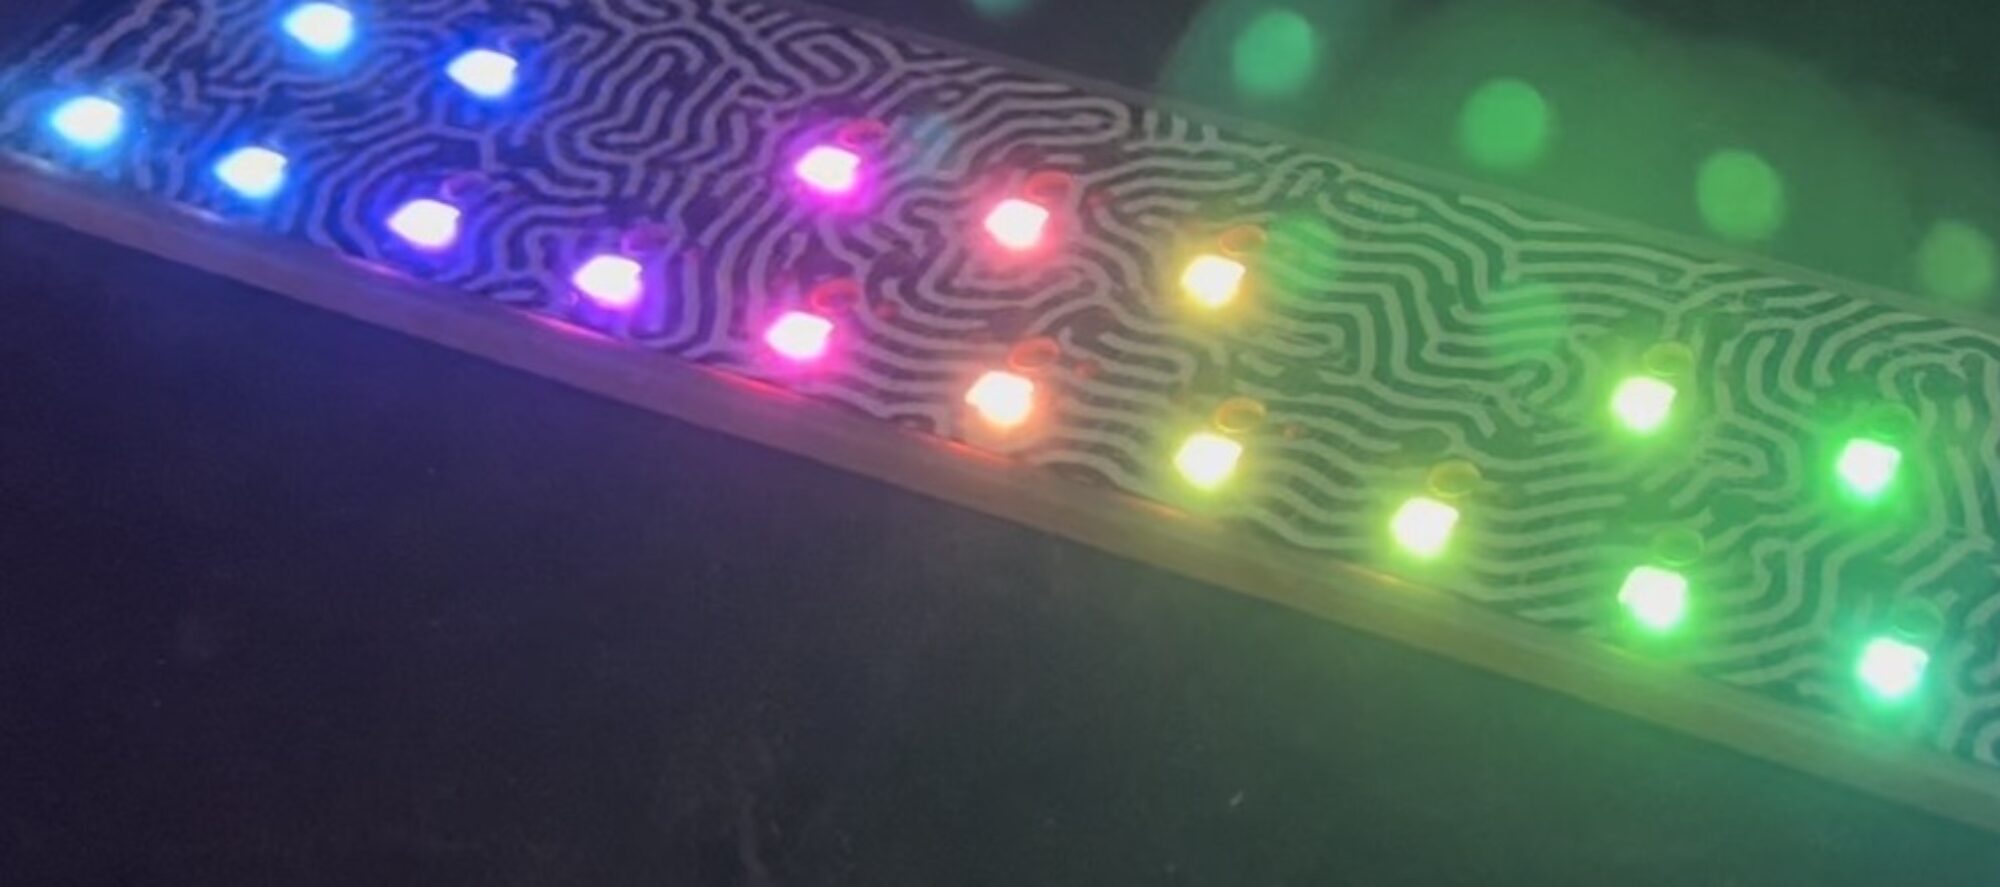
You may not have known, but blink(1) USB notification LEDs have a secret: they can drive 16 extra LEDs in the form of “NeoPixel” WS2812 LEDs. This is what was behind the “blink(16)” project.
If you take apart a blink(1), you’ll see it has three tiny plated holes. These are the three needed by WS2812 LEDs: +5V, Gnd, and Data.
Mostly as a reminder to myself, here’s what I did. (based on the “Flashing with Debian” section of this document)
On the vagrant ubuntu VM, update the CHIP tools and flash the CHIP board (be sure to have the FEL-to-GND jumper in place when flashing, and remove it after):
Once the flashing is done, remove the FEL jumper and power cycle the board. When it comes up, connect to it via ‘cu’ (the last command above), get it on the net, get the compiler tools, then download and compile blink1-tool. No changes to blink1-tool Makefile needed. Easy!
Back in October, I spoke at the Hackaday 10th anniversary event. I spoke about blink(1), Kickstarter, and some of the fun issues we had getting the product out.
They were nice enough to record it and put it on Youtube. Video and slides below.
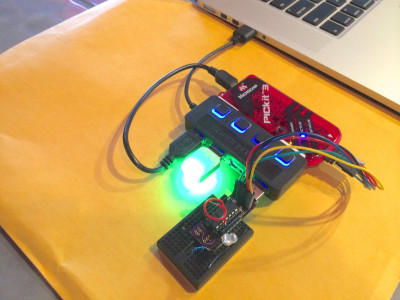
About a year ago, while I was developing the blink(1) mk2, I created both a PIC16F1455 development board and a little assemblage that was tiny enough to toss in my laptop bag but powerful enough to let me develop on the PIC. I could now develop firmware in a coffeeshop!
a prototype blink(1) mk2 with previous version firmware
All taped together with double-stick foam tape.
The Sabrent USB hub is because it acts a partial goof-protector if I short USB power & ground and the per-port power switches make it easy to power-cycle the device I’m developing without unplugging-replugging. The solderless breadboard is just big enough to support the addition of a few extra components. And my dev board has female headers with male pins that stick into the breadboard, holding it securely place and making wiring to the dev board a snap.
If only MPLAB X & PICKit3 wasn’t so pokey for programming (it can take 15 seconds from the time you click “Upload” to having your code running on the device)
Whew, MakerFaire Bay Area 2013 is over and it was astoundingly fun. Not only did we get to interact with so many people doing awesome things with ThingM products (like these BlinkM MinM earrings) but we got to show off a bunch of projects made with blink(1) and BlinkM-family stuff to thousands of new people. We heard tallies of 120,000 people showed up over the weekend, and we love seeing the concepts the Maker community inspires diffusing out into the larger world, as this LA Times article speaks to.
This year not only were we fortunate enough to have a ThingM table in the Maker Shed (Thank you Leah, Alex, Will, Carlyn, & Mike for helping staff it), but we also gave talks. Mike spoke about the future of manufacturing in a work filled with Maker-inspired tools and techniques, while I gave a talk on the process we went through to take blink(1) from an idea to Kickstarter to production.
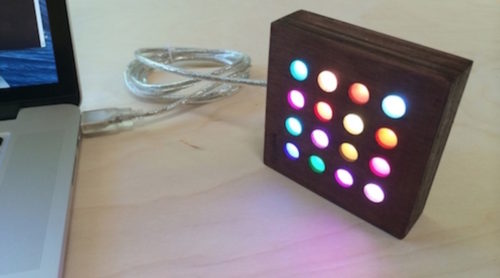
We’re working on an improved version of blink(1) and have launched a Kickstarter for it.
blink(1) mk2 is an updated version of the blink(1) super status light. The original blink(1) made it easy to connect any data source in the cloud or on your computer to a full-color RGB LED so you can know what’s happening without checking any windows, going to any websites or typing any commands. blink(1) mk2 maintains backward-compatibility while adding better functionality and great new features.
The main new features are:
– Better USB support
– Brighter via dual RGB LEDs
– Independently-addressable LEDs
– Improved Blink1Control application