I2CScanner: Arduino as I2C bus scanner

[2014-May-9: updated to work with Arduino 1.0 and moved into github]

One of the challenges of working with I2C (aka “two-wire” or “TWI” or “Wire”) devices is knowing the I2C address of the device. Older devices have a fixed address, or a “choose one-of-four” approach. But newer I2C devices have fully programmable addresses, leading to cases of not knowing what address a device is at.

Fortunately, there’s a technique one can use to “scan” an I2C bus and determine these addresses. Conceptually it’s very similar to a network “ping”. Below is an Arduino sketch “I2CScanner.pde” that turns an Arduino into an I2C bus scanner.

I2CScanner.ino — Turn Arduino into I2C bus scanner (github repo)

When loaded up on an Arduino, the sketch will immediately scan the I2C network, showing which addresses are responding.
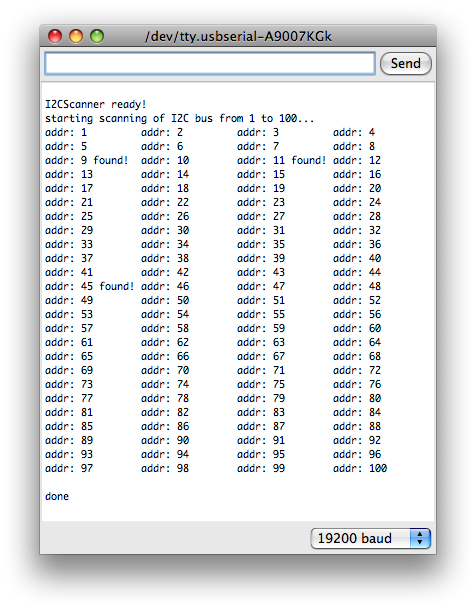
i2cscanner-out

For example, the above output is from an I2C bus with four slave devices on it (one BlinkM MaxM, three regular BlinkMs).
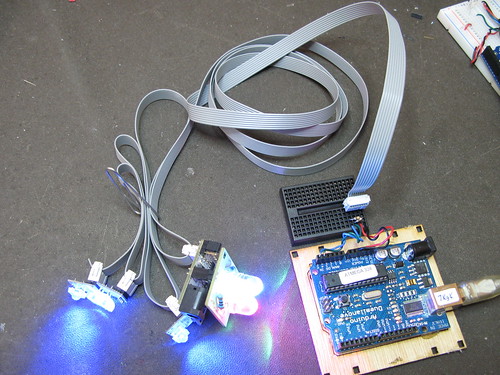
I2CScanner with BlinkMs
(Notice the 2 pull-up resistors on SDA & SCL. This is needed for longer bus lengths)

One thing to notice about the I2CScanner output is that although there are four devices on the bus, only three addresses were detected. This is because unlike IP networks and “ping”, you can’t tell if two devices have the same address. They’ll both respond to commands sent to them just fine, you just can’t read back data from them.

How it works

In I2C, the first byte transmitted/written by the master to a slave is the address of the slave. If there is a slave at that address, the slave will signal the I2C bus, otherwise it leaves it alone. We can use this to implement a bus scanner.

The Arduino “Wire” library utilizes a set of C functions called “twi.c”. One of those functions is “twi_writeTo()”. This function is used to both send the address of the slave down the bus and also to write data to slaves. It returns 0 if it was able to successfully transmit a byte or non-zero if it couldn’t. Since the very first write to a slave is its address, a very simple bus scanner using it would be:

void scanI2CBus(byte from_addr, byte to_addr) {
  byte data = 0; // not used, just a ptr to feed to twi_writeTo()
  for( byte addr = from_addr; addr < = to_addr; addr++ ) {
    byte rc = twi_writeTo(addr, &data, 0, 1, 0);
    if( rc == 0 ) {
      Serial.printl("device found at address "); 
      Serial.println(addr,DEC);
    }
  }
}

In the I2CScanner sketch, this function is extended a bit to support a callback function. The callback function is called with the result of every address scan. In I2CScanner, this callback function is called “scanFunc()” and just prints out “found!” or nothing, but it could be modified to do more complex tasks like doing additional I2C transactions to figure out what kind of device it is, or setting all the devices to a known state, etc.

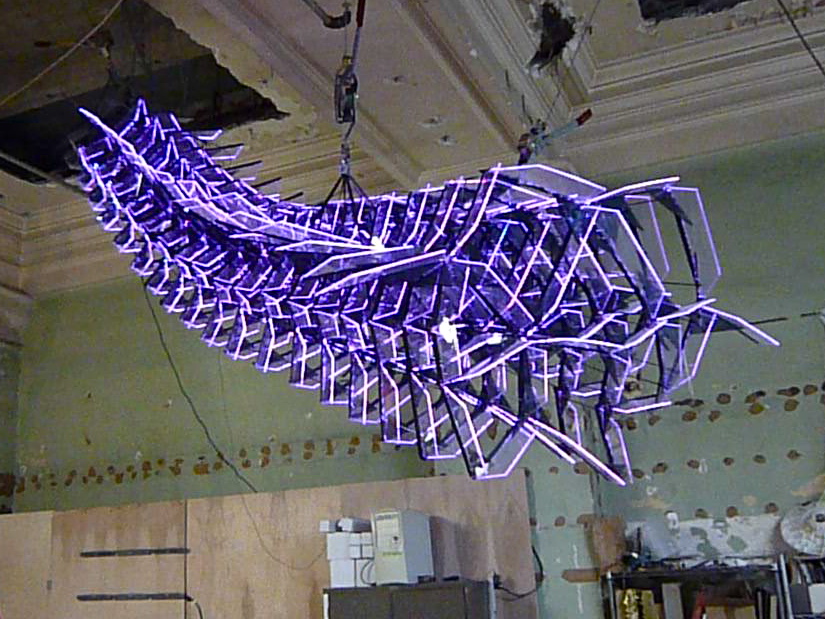
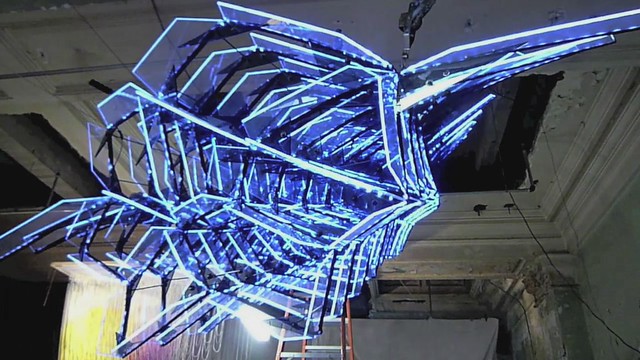
Behold the Crystal Monster

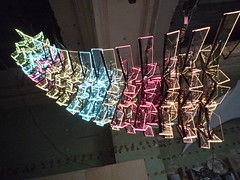
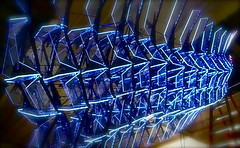
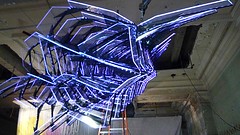
The Crystal Monster is an art piece created by Beverly Tang and Tod E. Kurt (me). It’s on display in the Continental Gallery on 4th & Spring St in downtown Los Angeles. The shape and structure of the Crystal Monster are Beverly’s design. I created the lighting and the electronics. It’s made from over 400 sheets of laser-cut acrylic, more that 240 feet of LED tape (>2200 RGB LEDs!), and around 500 steel rods and other steel hardware. It’s approximately 12 feet long and 10 feet wide and hovers 10 feet above your head. It’s got an Arduino brain and 18 BlinkM MaxMs (one per segment) to let it flutter color patterns up and down its length.

A little movie showing it in action:

Crystal Monster at Art Walk Downtown July 2009

Go to Beverly’s site for high-quality photos of the Crystal Monster. Check out her other work, she’s an amazing artist.

Some of my photos (or click to go to Flickr set):

crystal monster eating
crystal monster profile
Crystal Monster at Art Walk Downtown July 2009

It was first installed at the Ball-Nogues studio in Downtown Los Angeles as part of their participation in Downtown L.A. Art Walk, and lived there for a few months.
Crystal Monster: final assembly!

Then it moved to its mostly-permanent location at the Continental Gallery at 4th & Spring in Downtown Los Angeles.
Crystal Monster in its new home

It’s right on the corner, so you can really see it just from walking by on the street.

Crystal Monster from the street

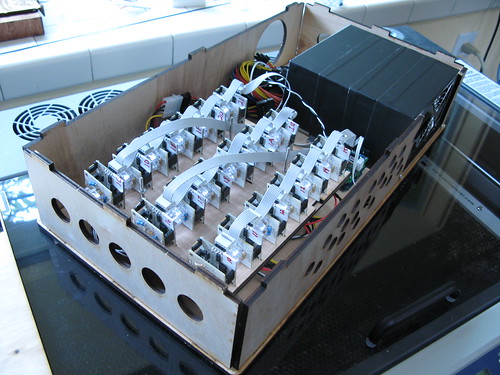
The electronics consist of 18 BlinkM MaxMs driven by a single Arduino, all powered by an ATX power supply. The Arduino has an IR remote control receiver so the Monster’s behavior can be controlled from afar.

crystal monster control box

Minimal Arduino with ATmega8

Or: A good use for old Arduino boards

Like me, you may have a few old Arduino boards or ATmega8 chips (in the boards) laying around from when you were first playing with Arduino. Those chips can still be really useful as the heart of a tiny “Minimal Arduino” setup.

A normal Arduino board contains support components that make it easy to use. If you want a smaller footprint, you can get one of the many Arduino work-alike boards. But if you want a really small footprint, and reuse your old parts, you can make an Arduino board using just five components:
– ATmega8 chip
– single 10k resistor
– single 0.1uF capacitor
– tiny breadboard
– some hookup wire


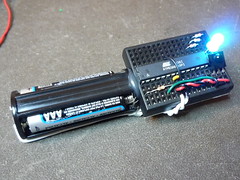
(On the left, an IR remote controlled BlinkM. On the right an IR remote controlled RGB LED)
Continue reading “Minimal Arduino with ATmega8”

Arduino chip sticker label

I’ve been working with a super minimal Arduino setup recently. After seeing Alex’s awesome Arduino/ATmega breadboard header, where he notes there’s no room on the PCB for pin labeling, I wondered if it would be possible to make a small sticker that goes on the ATmega chip, labeling the pin names.

Here’s my first attempt:
arduino-atmega-sticker

And in use:
arduino-atmega-sticker-use

This was created by printing on a full-page sticker then laser cutting it to shape. I could have also just cut out the sticker with scissors, or used regular printer paper and double-sided tape.

Some files if you want to try this out yourself:
arduino-atmega-sticker.eps — EPS of just the sticker itself.
arduino-atmega-sticker.svg — SVG version
arduino-atmega-sticker.pdf — PDF version
arduino-atmega-sticker-lasercut.cdr — Coreldraw file containing instructions & registration marks for printing then laser cutting your own sticker.

Tiny Servos as Continuous Rotation Gearmotors

I’ve been exploring various types of gearmotors. DC motors by themselves spin too fast and have low torque. Gearmotors are motors with a gearbox that slows down the high speed of the motor and produces higher torque. Most gearmotors are pretty expensive though. I want a really cheap, almost throw-away, source of gearmotors. It turns out cheap servos can be made into continuous rotation gearmotors.

Modding servos for continuous rotation is not a new hack. You can find many examples of it. You can even buy a nice continuous servo made by Parallax. But I wanted a micro servo version. I’ve been getting cheap servo motors from Hobby City, and they have several super-tiny servos for less than $4. The ones I use here are the Hextronic HXT500 available for $3.49 each.

Here’s how to modify one of those servos to make it into a tiny little gearmotor.
Continue reading “Tiny Servos as Continuous Rotation Gearmotors”